ElectricalJun 4, 20263 min video
How to add an outlet from the one behind the wall
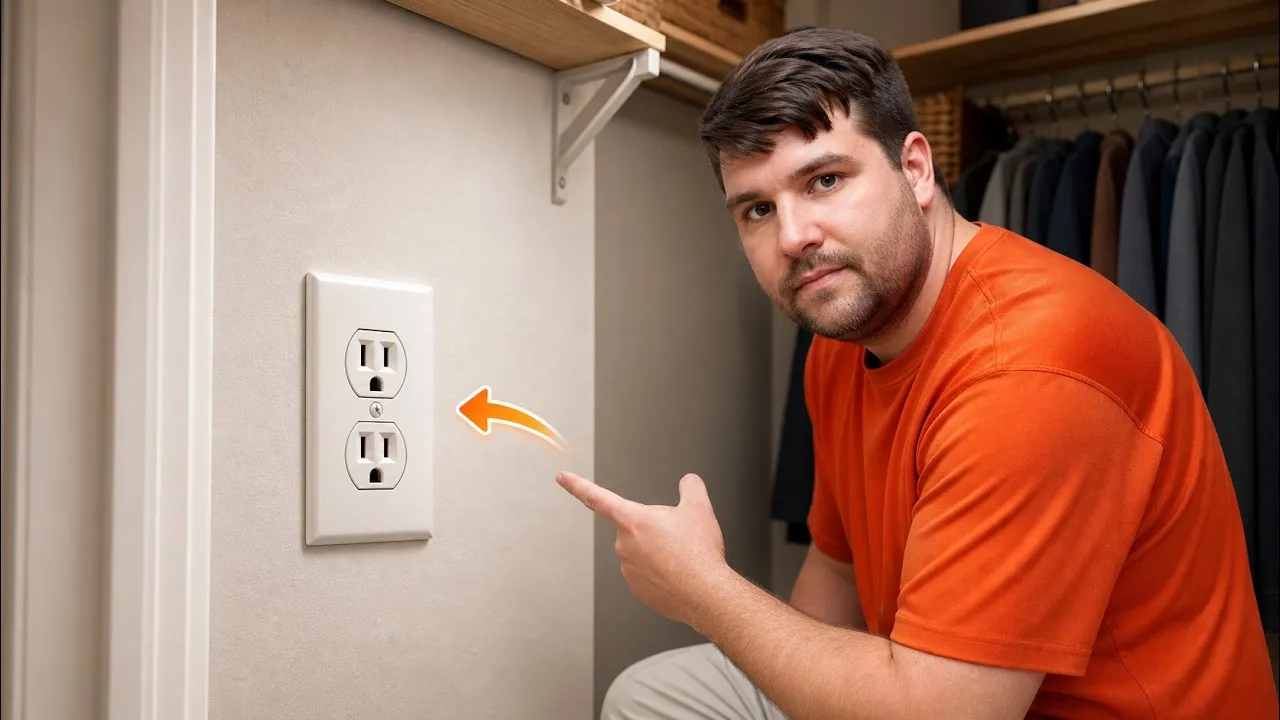
Use this when there’s already an outlet on the other side of the wall, in the same stud bay. A short cable crosses the wall to an old-work box: no attic, no new circuit.

Free printable guide
Winter Home Checkup
What to check, fix and keep an eye on to get your house through winter, sorted by when you’ll need it.
Get the Winter Home CheckupFree · 11 printable pages · Sent by email
Step by step
What you’ll need
- Single-gang old-work box
- NM cable matching the circuit: 12/2 with ground for 20 amps, 14/2 with ground for 15 amps (about 3 ft)
- Tamper-resistant receptacle and cover plate (15 or 20 amp on a 20 amp circuit, 15 amp on a 15 amp circuit)
- Lever nuts rated for 12 AWG, one port per cable plus one for the pigtail
- Plug-in outlet tester and non-contact voltage tester
- Jab saw, stud finder and wire stripper
Before you start
- With the breaker off and both halves tested dead, pull the outlet behind the wall. It has to be always on: no wall switch controlling it, no snapped-off tab between the brass screws, no red wire. Otherwise it’s switched or shared, so use another outlet. Bathroom, laundry, garage and kitchen counter circuits can’t feed a closet either.
- Match the breaker: 20 amp needs 12 AWG, 15 amp needs 14 AWG, and the wire in the box should agree. Closets need arc-fault protection when a circuit is extended into them, so if the breaker isn’t an AFCI or dual-function type, swap it. Local rules vary and many towns want a permit, so check yours.
- Count the old box’s fill: 1 for each black or white wire (new cable included), 1 for all the grounds, 2 for the receptacle, 1 if it has clamps inside. Multiply by 2.25 cu in for 12 AWG or 2 for 14 AWG; plastic boxes have their size stamped inside. Too small, or no clamp for a new cable? Swap in a deeper old-work box.
Pick the spot
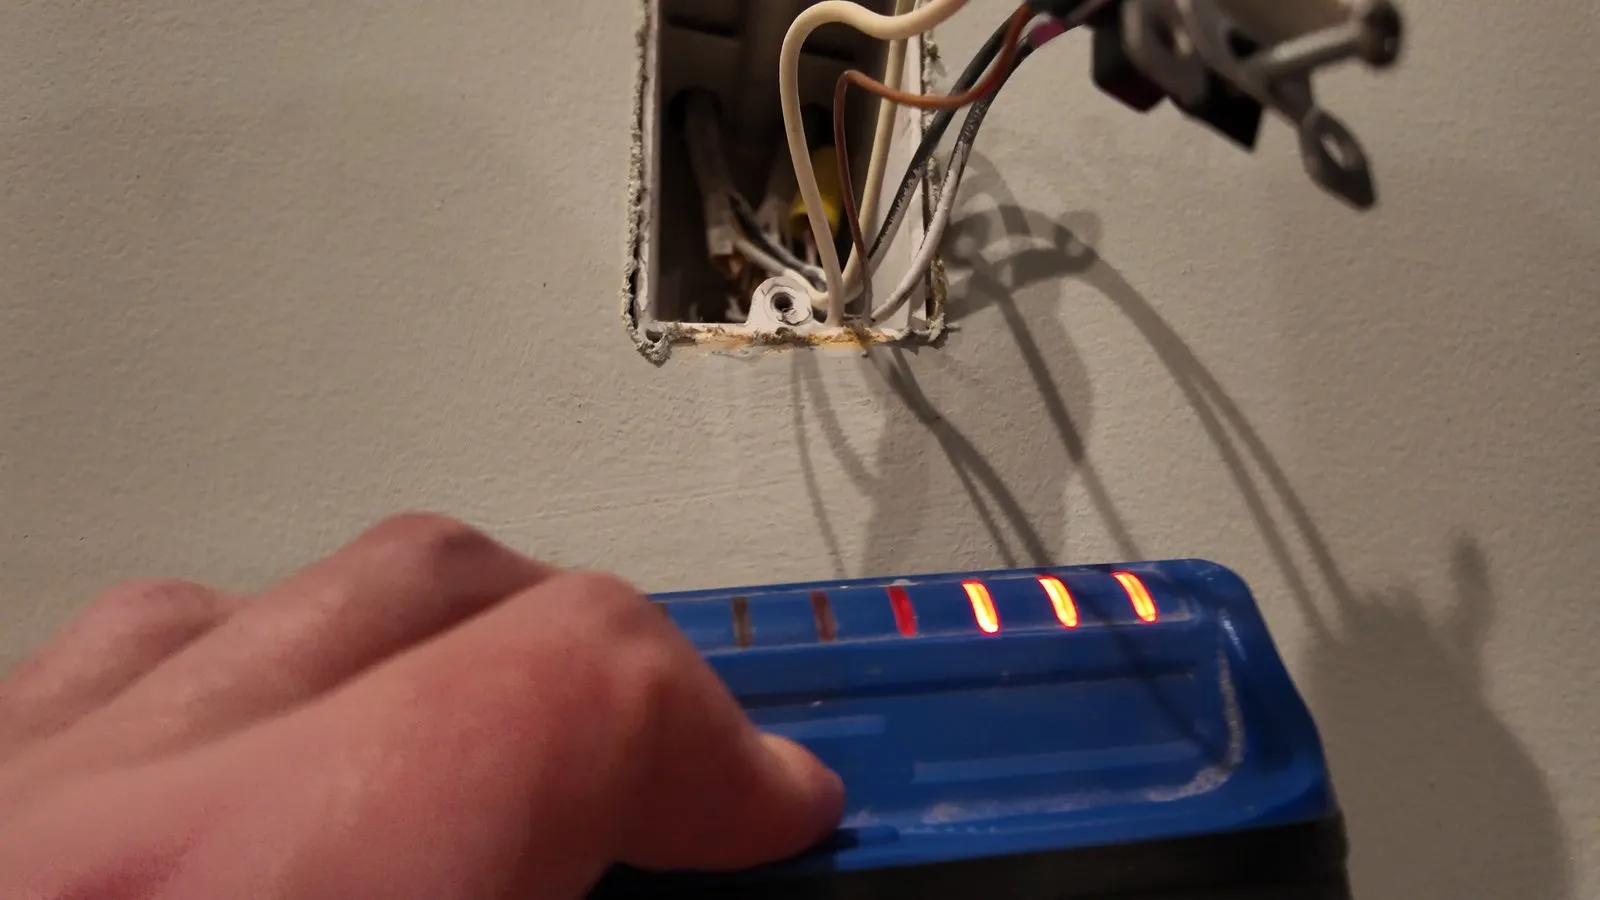
Look through the gap around the old box, or use the stud finder, to see which stud it’s on, and put the new box a few inches over in the same stud bay. Not back-to-back: two standard boxes won’t fit in a 3½ in wall. Match the height of your other outlets.
Watch this step (1:17)Probe, trace and cut
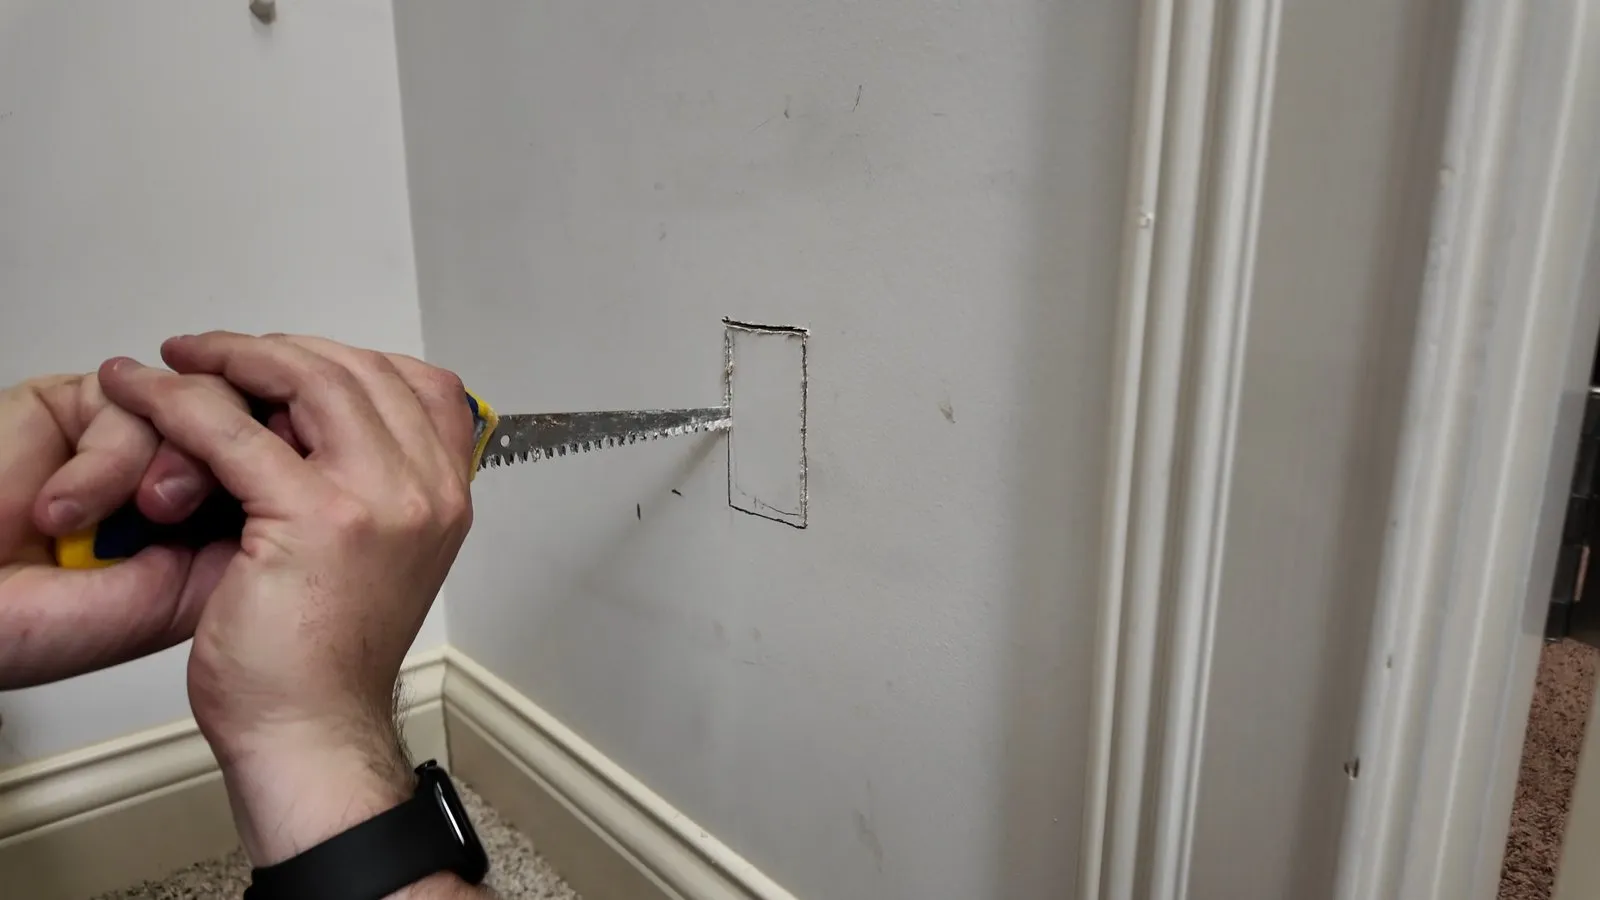
Drill a small hole in the middle of the spot, push in a wire bent into an L and spin it. If it hits something, move the spot. Trace the box body, not the ears, and cut just inside the pencil line with a jab saw.
Watch this step (1:33)Run the cable across
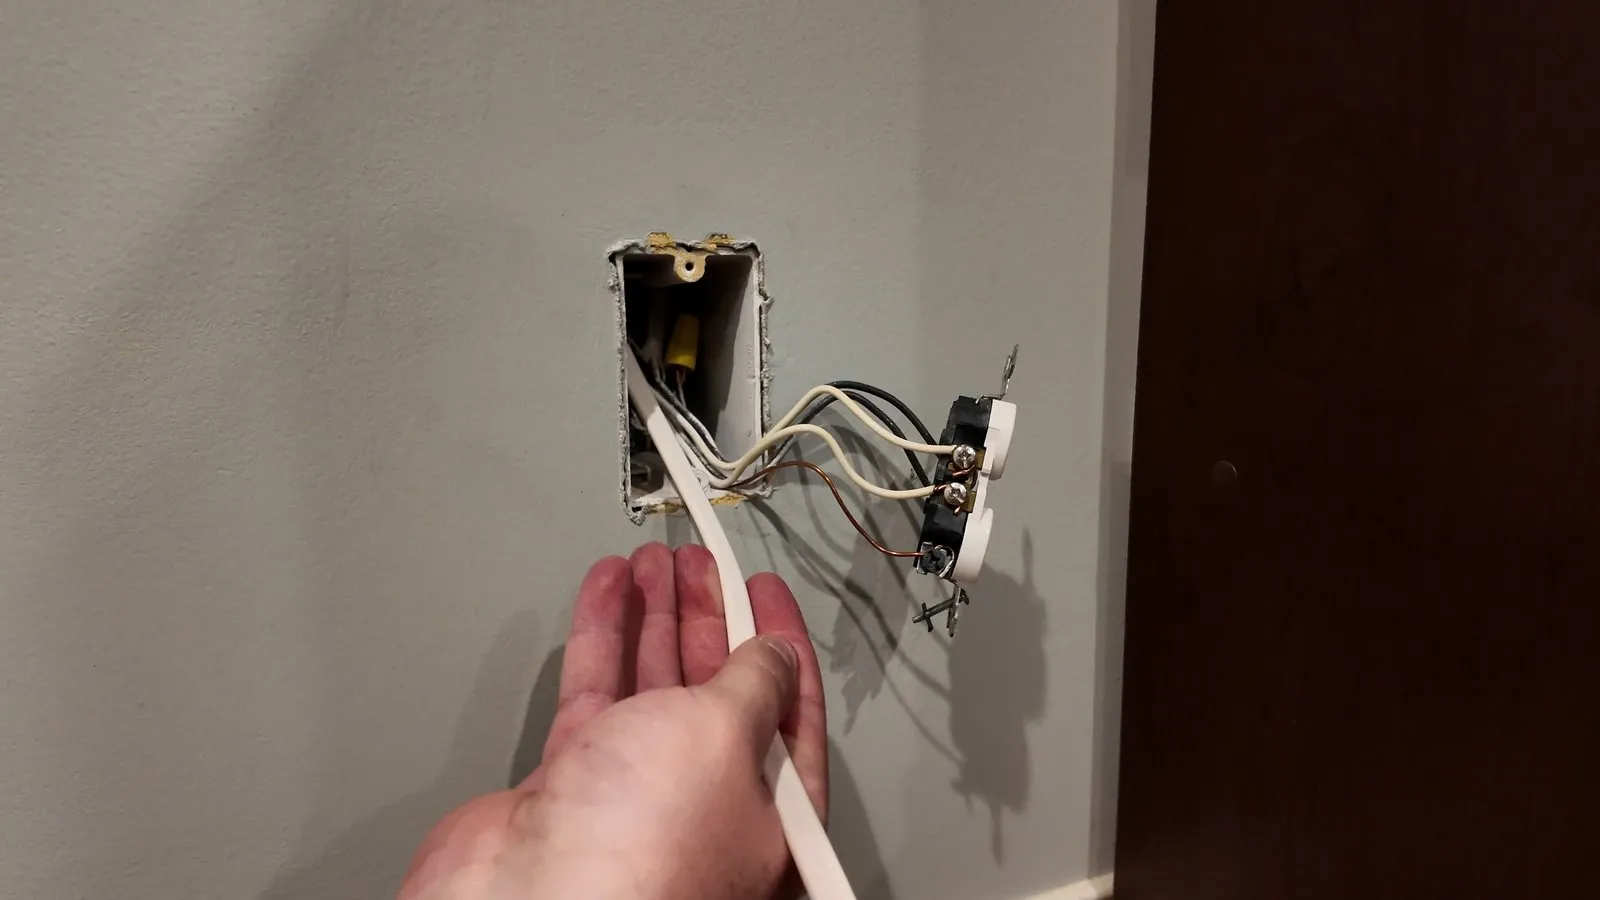
Open a knockout in the old box on the side facing the hole (on a metal box, loosen its clamp first). Push the cable in through the closet hole and under the clamp, with at least 6 in of free wire in the box and 10 to 15 in out of the hole.
Watch this step (2:04)Set the new box
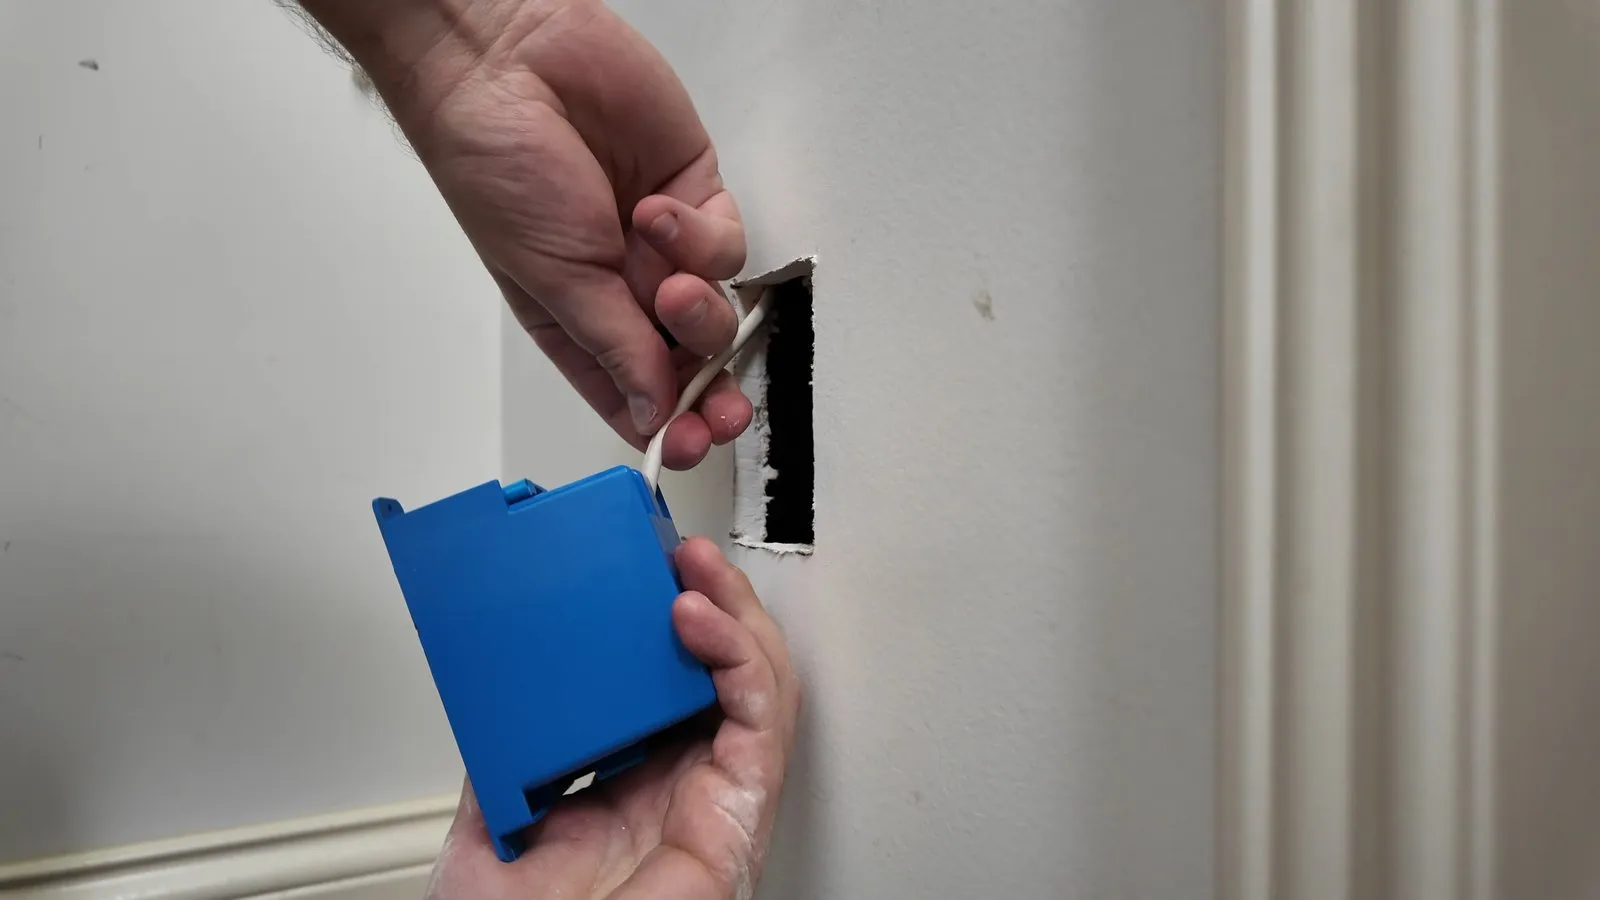
Strip 6 to 8 in of jacket and push the wires through the new box’s clamp from the back until about ¼ in of jacket is inside. Tuck the slack into the wall, push the box in and tighten the screws just until the clamps grip. Any tighter cracks the box.
Watch this step (2:08)Wire the new outlet
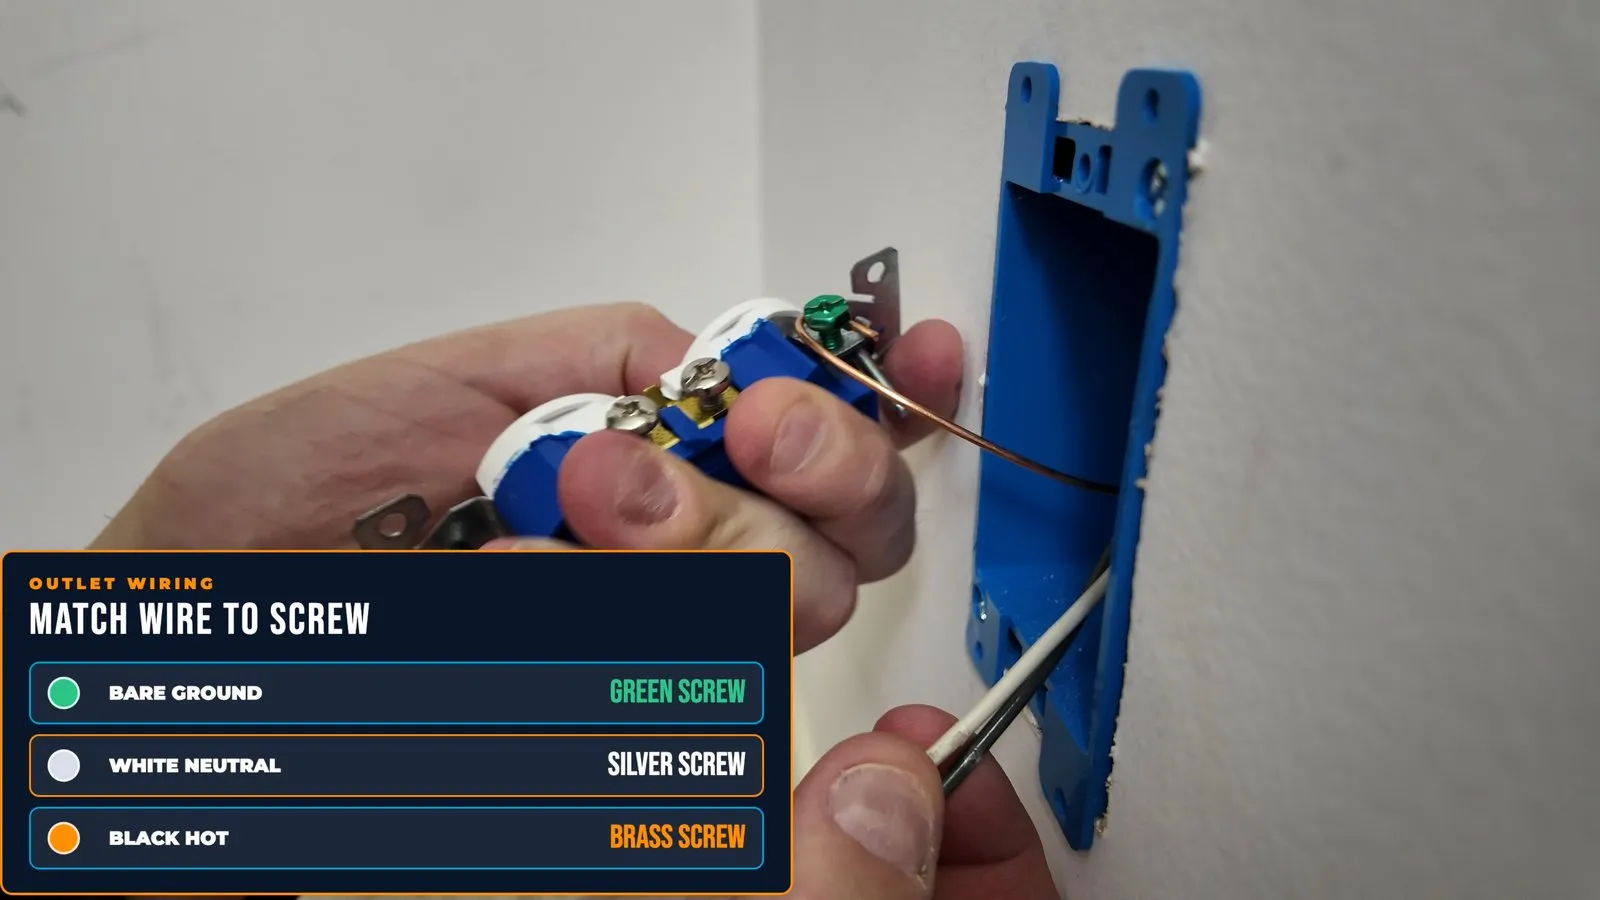
Ground to green, white to silver, black to brass, looped clockwise under the screws. Skip the push-in holes: code only allows them with 14 AWG on 15 amp circuits.
Watch this step (2:15)Pigtail the original outlet
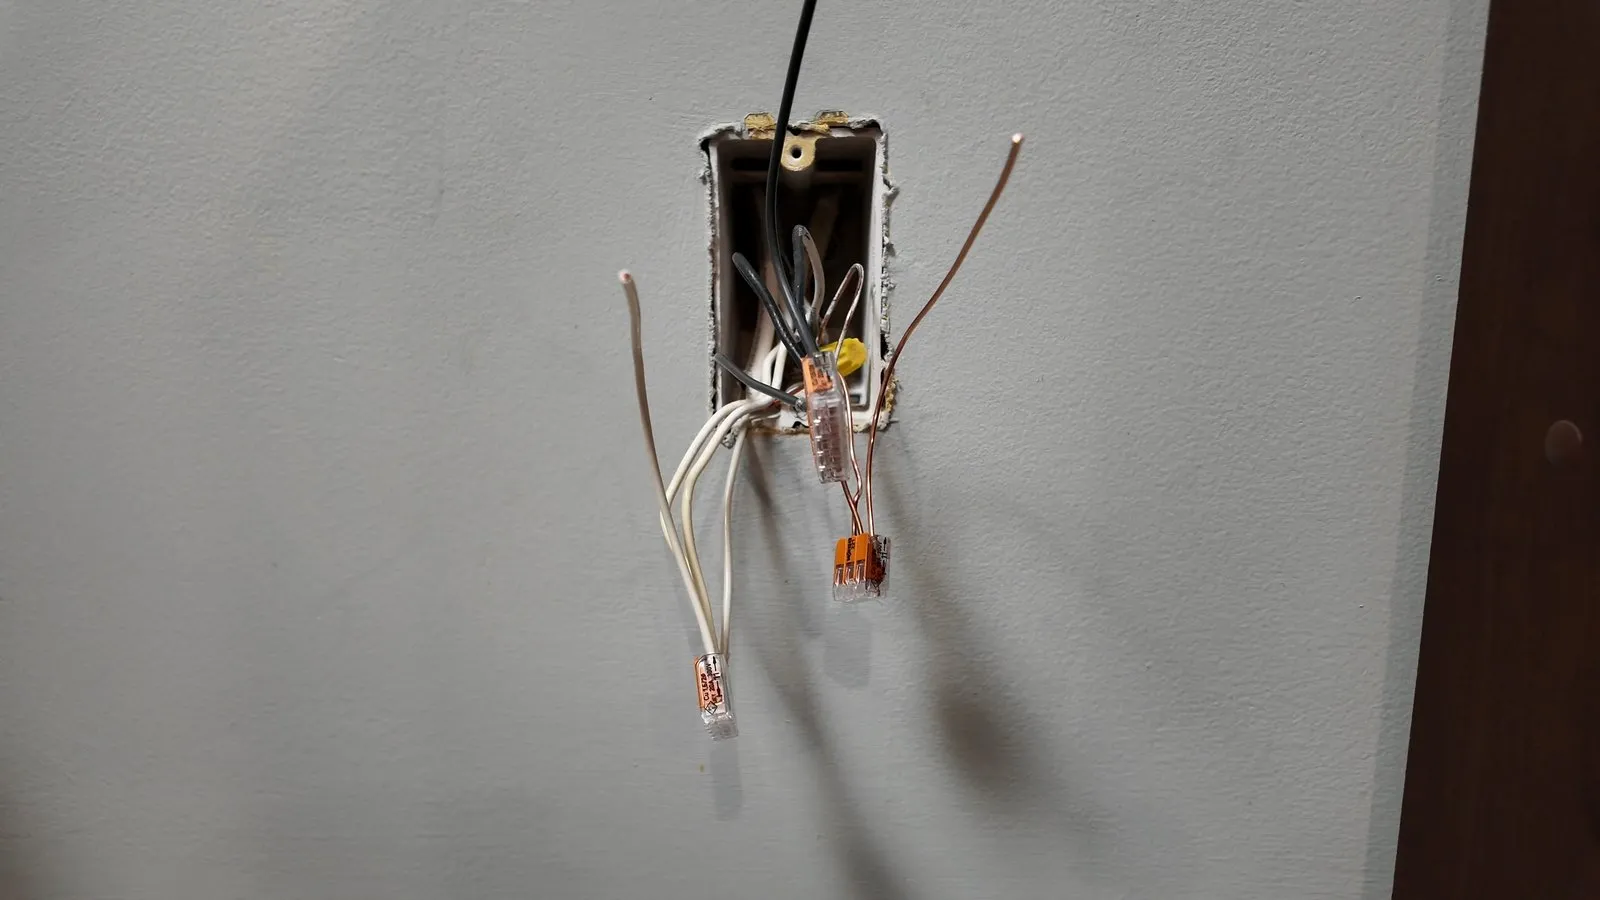
Join all the blacks, old and new, in one lever nut with a 6 in pigtail to a brass screw. Same for the whites (silver) and grounds (green); in a metal box, add a ground pigtail to the box’s green screw too. Strip 7/16 in for the lever nuts and check the copper reaches the back of each port. If the old outlet is a GFCI or AFCI, put the new cable on its LOAD terminals instead.
Watch this step (2:25)Close up and test
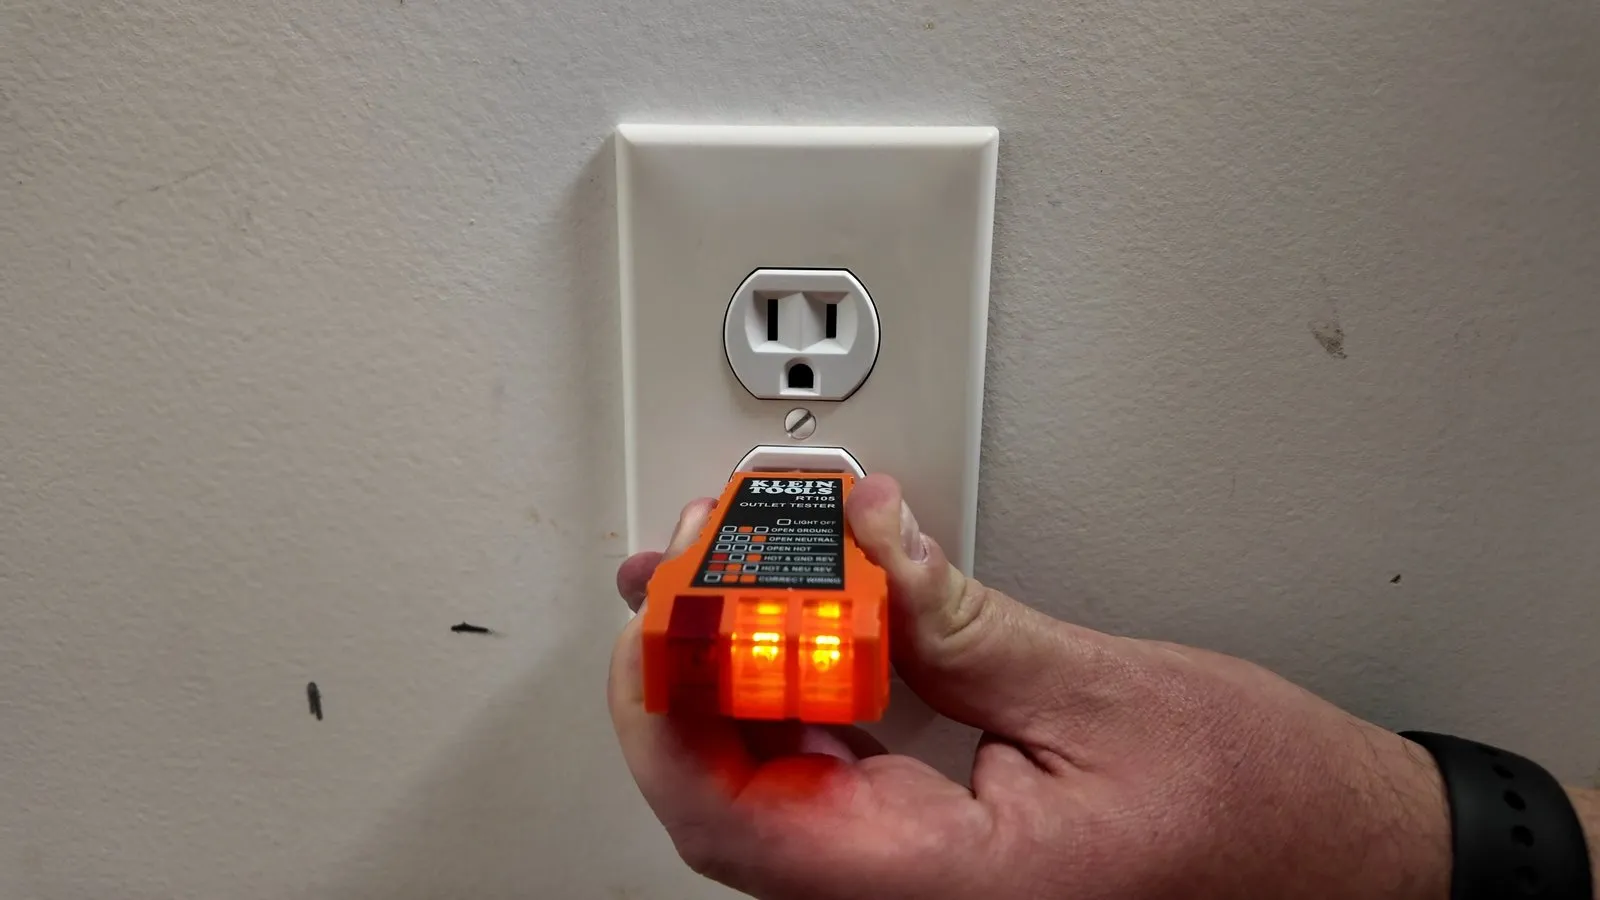
Mount both receptacles and plates and turn the breaker on. Both outlets should show the tester’s correct-wiring lights. If one is dead, check for a tripped GFCI elsewhere on the circuit.
Watch this step (2:39)