TV & wallsJun 18, 202615 min video
How to mount a TV on a drywall wall
This covers a full-motion TV mount lag-screwed into two wood studs behind drywall. Sizes vary by mount: where I give mine, check your manual for yours.

Free printable guide
Winter Home Checkup
What to check, fix and keep an eye on to get your house through winter, sorted by when you’ll need it.
Get the Winter Home CheckupFree · 11 printable pages · Sent by email
Step by step
What you’ll need
- Full-motion TV mount rated for your TV’s weight and VESA pattern
- Stud finder and a thin finish nail
- Drill and the pilot bit your mount’s manual lists (7/32-inch for the 5/16-inch lag screws in mine)
- Socket wrench to fit the lag screws (½-inch on mine)
- Phillips screwdriver, level and tape measure
Before you start
- It has to be drywall over wood studs. Metal studs, plaster and lath, or brick need different fasteners, and a full-motion mount never goes into drywall alone.
- The wall plate has to land on two studs where you want the TV. If they don’t line up with the spot, move the spot.
- The TV’s power cord can’t go inside the wall (NEC 400.12). For a hidden cord, plan an in-wall power kit now, with its outlet clear of the plate.
Check the TV against the mount
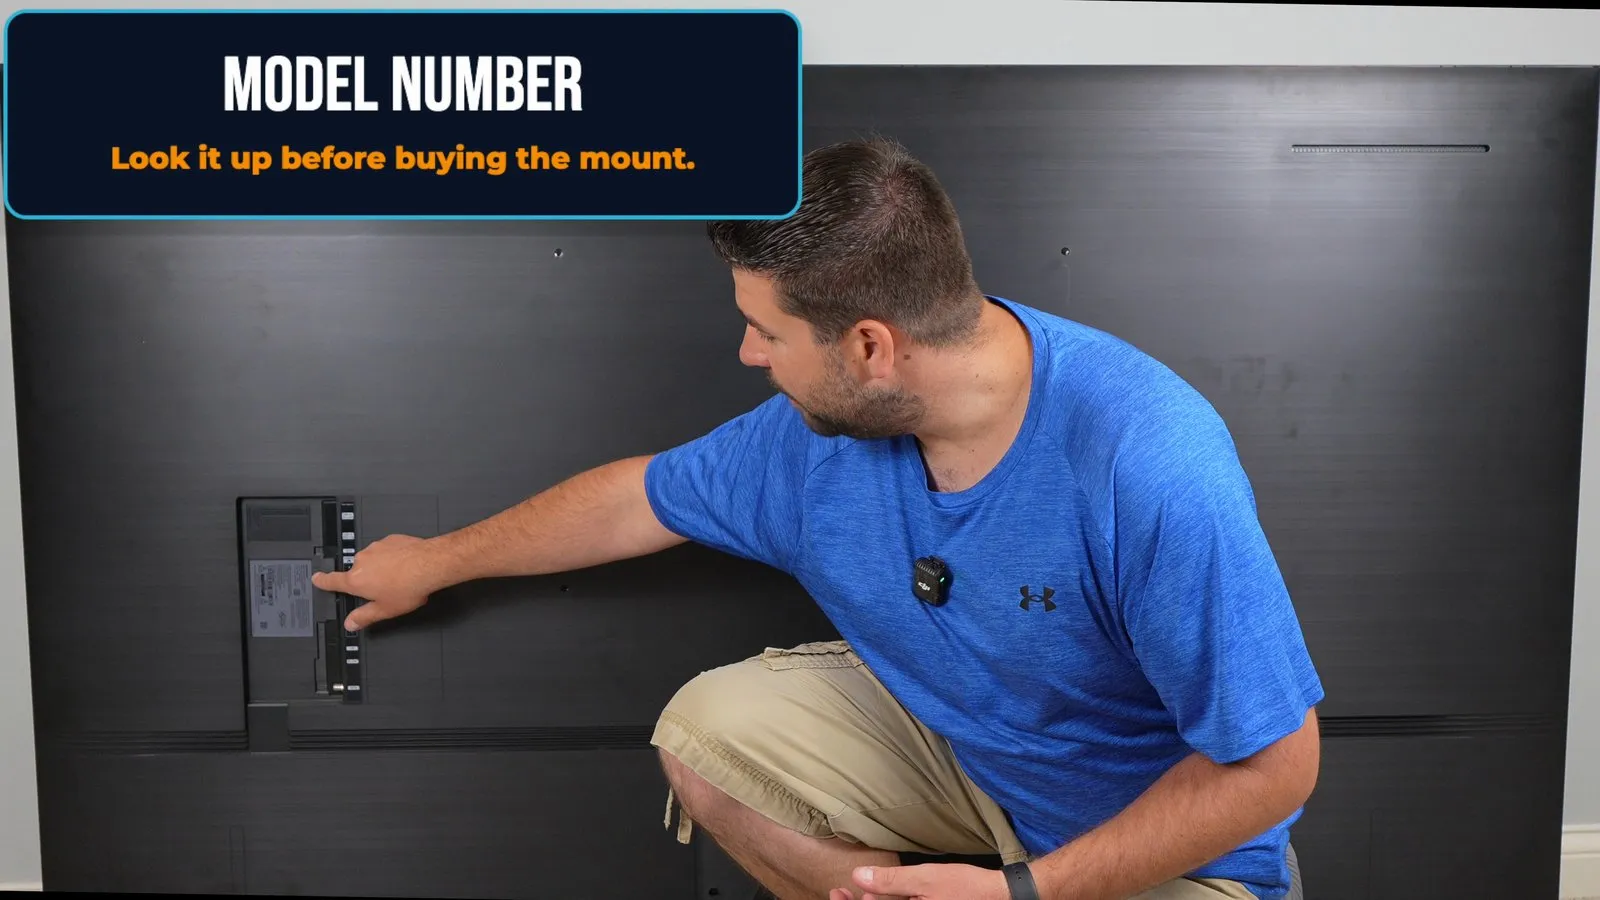
Look up the TV’s weight without the stand, its screen size and its VESA pattern (hole spacing in millimeters, width × height, center to center). All three must be inside the mount’s limits.
Watch this step (0:10)Find the right TV bolts
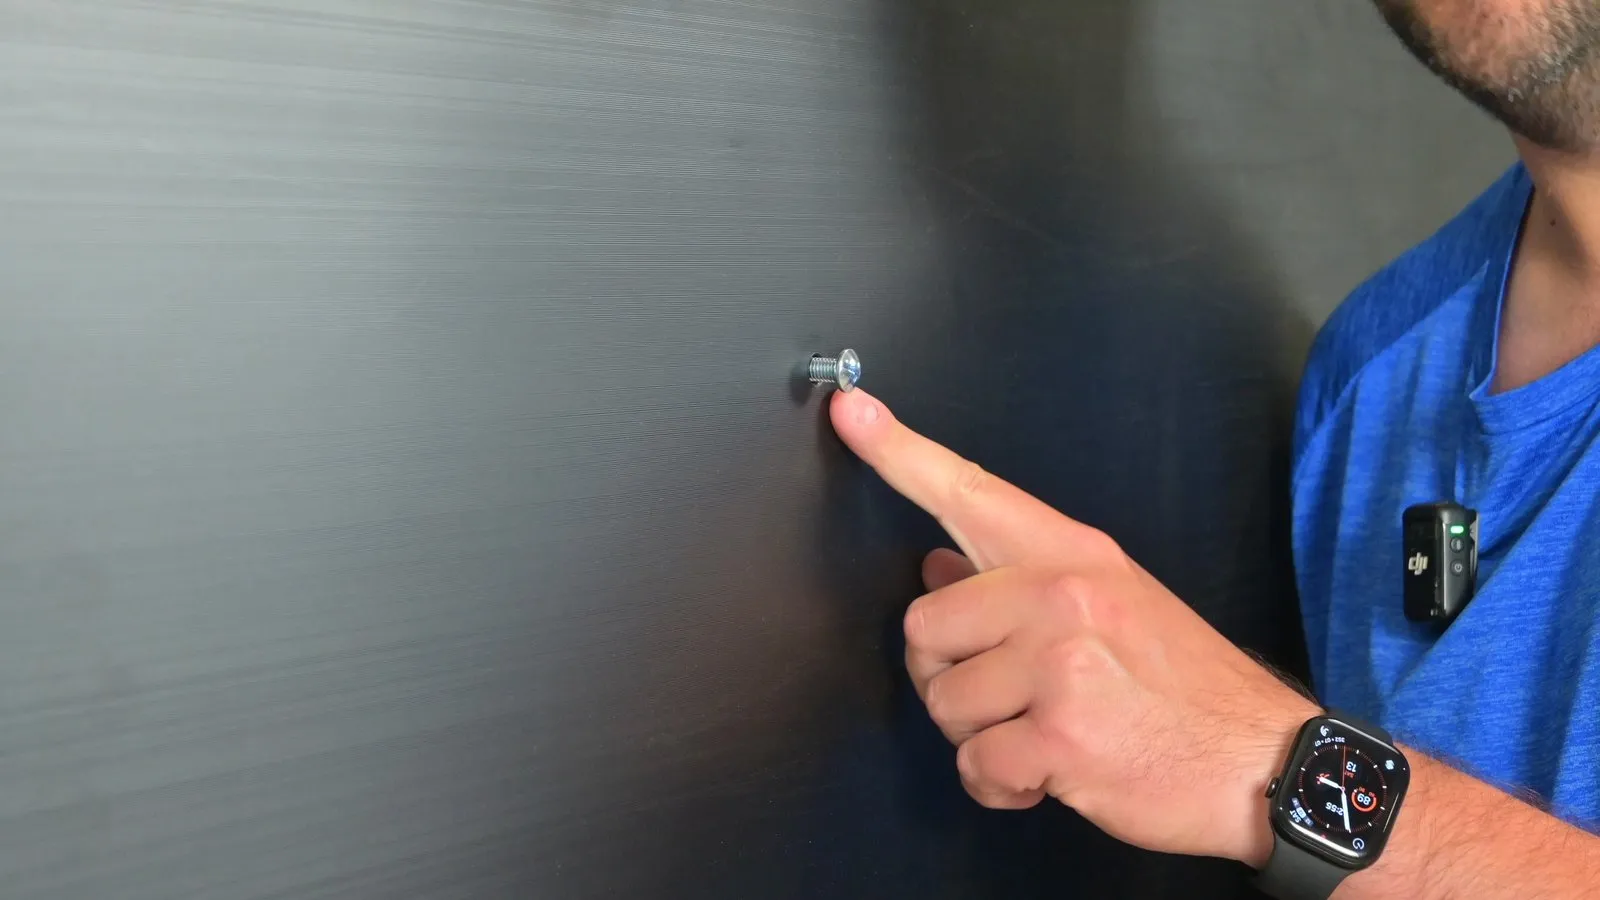
Lay the TV face-down on a blanket, take the stand off and thread a bolt in by hand to find the size, usually M6 or M8. Through the bracket and any spacer it should still get at least five full turns without bottoming out, which can damage the TV.
Watch this step (1:53)Fit the TV brackets
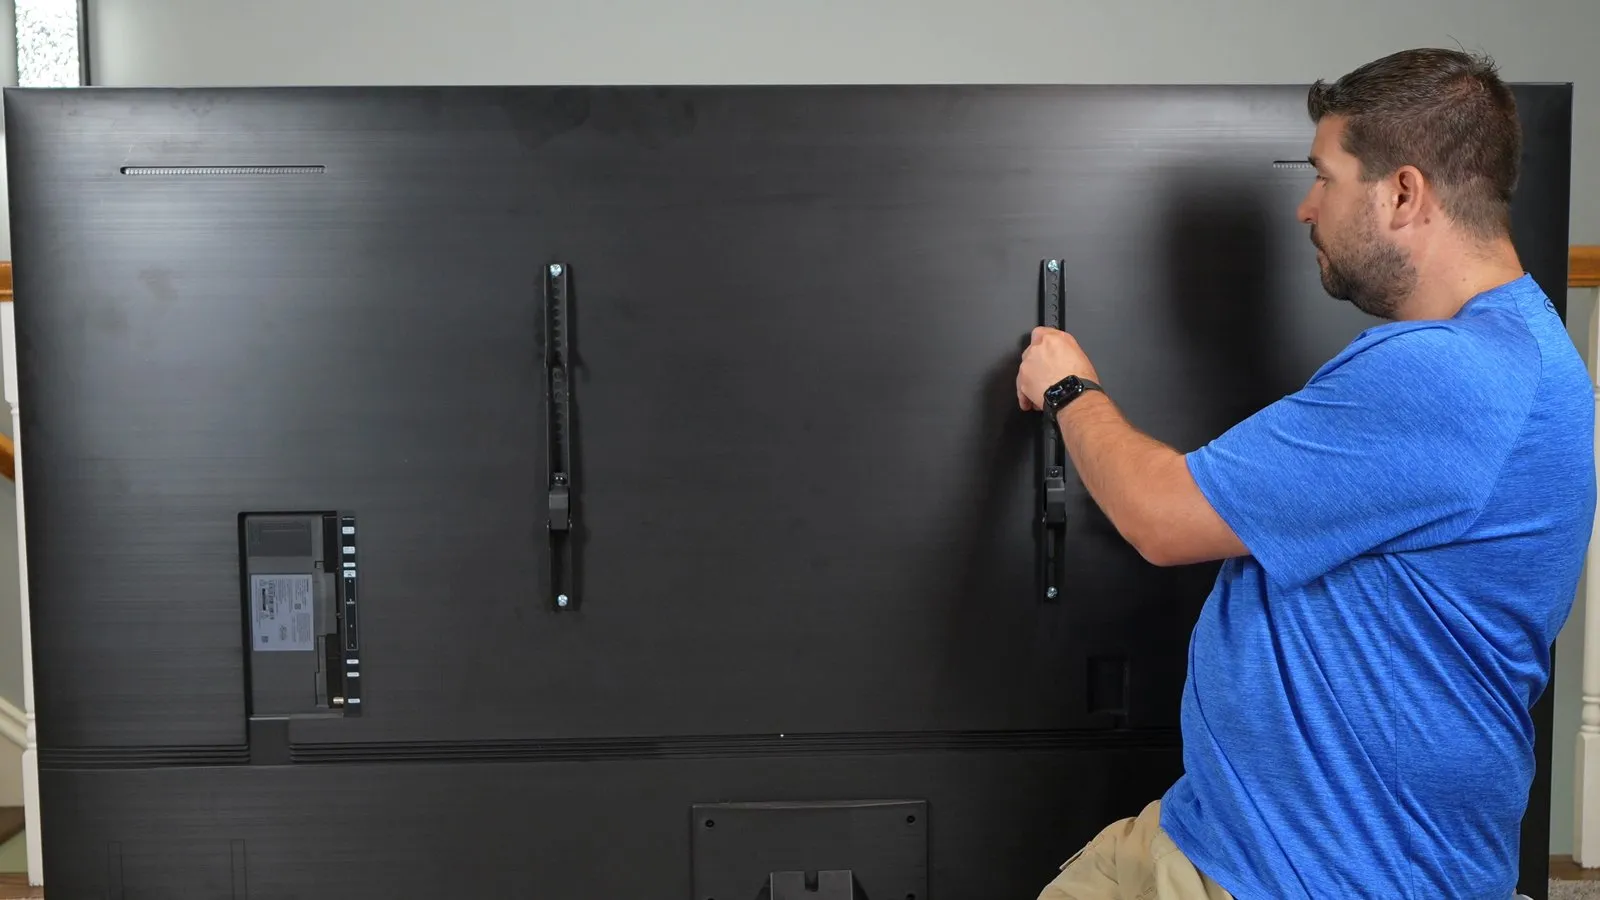
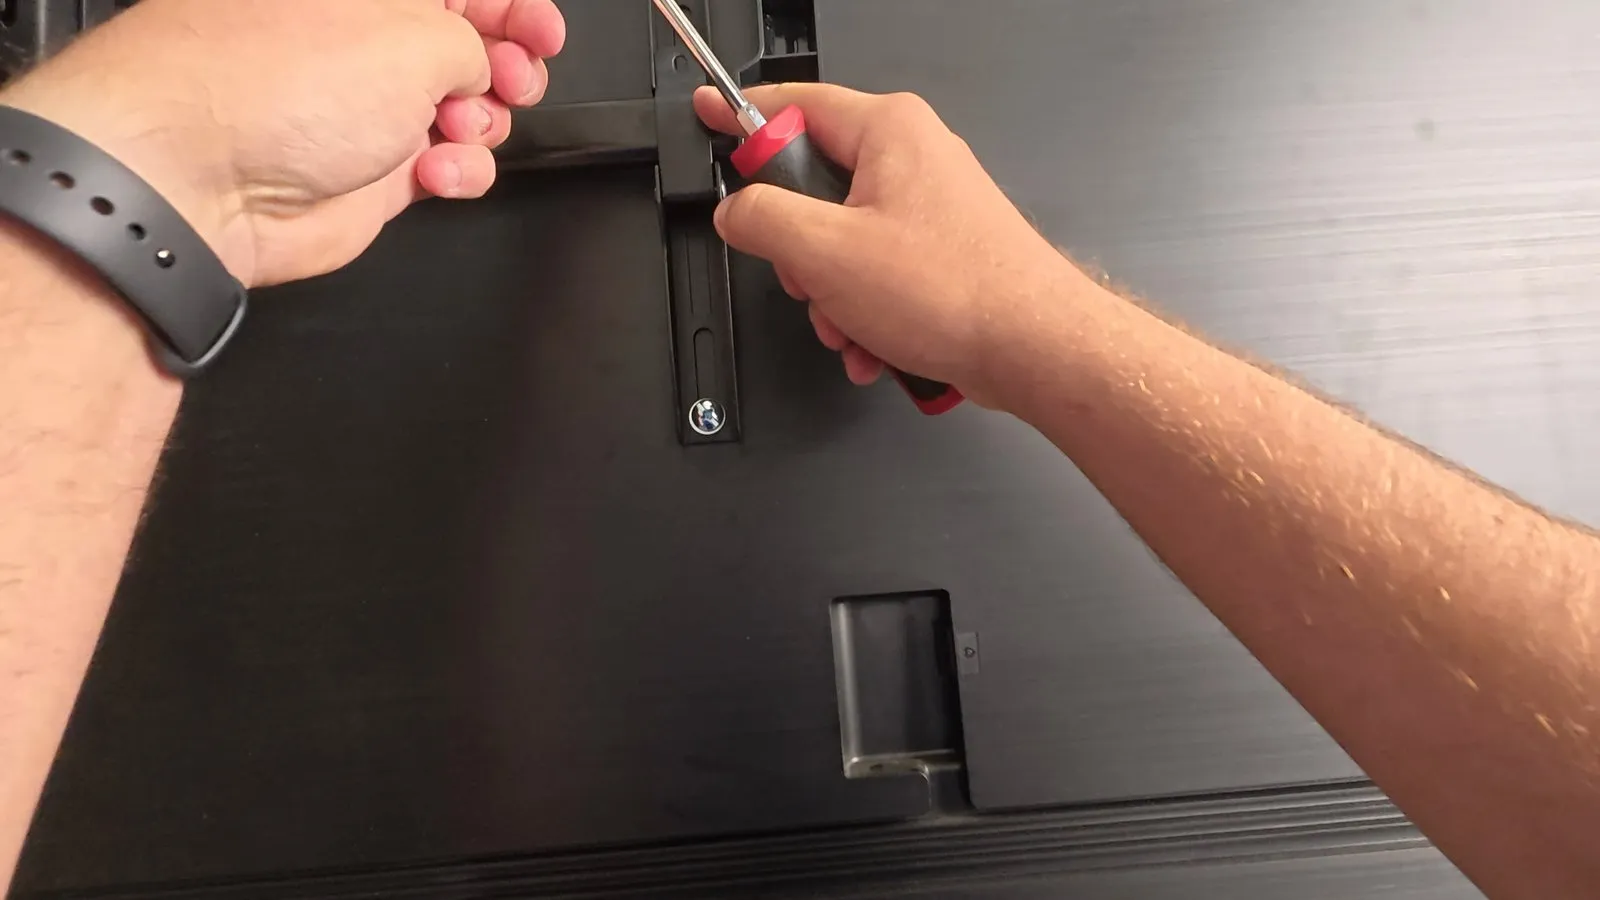
Bolt them on with the hooks at the top, centered top to bottom, with spacers if the back is curved, has a bump or has plugs in the way. Tighten with a screwdriver, snug and no more. Keep any small screws that come fitted in the brackets: on my mount they hold the safety locks.
Watch this step (3:14)Pick the spot
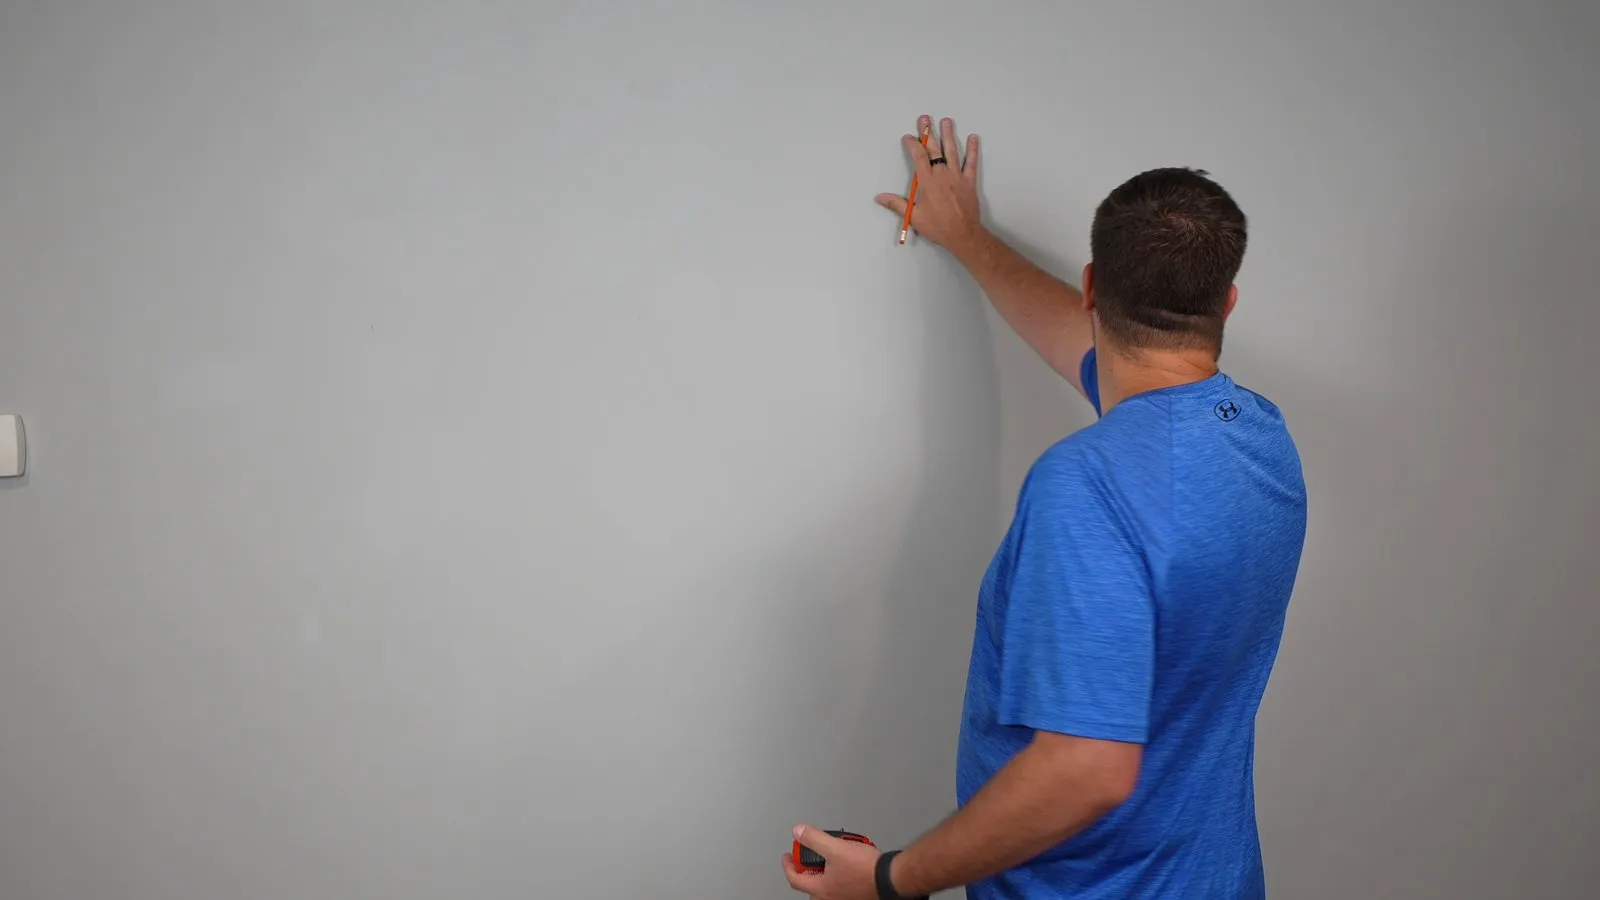
Sit where you’ll watch and pick where the middle of the screen goes: for a couch, about seated eye level, roughly 42 inches off the floor. Check for glare too.
Watch this step (4:17)Mark the plate height
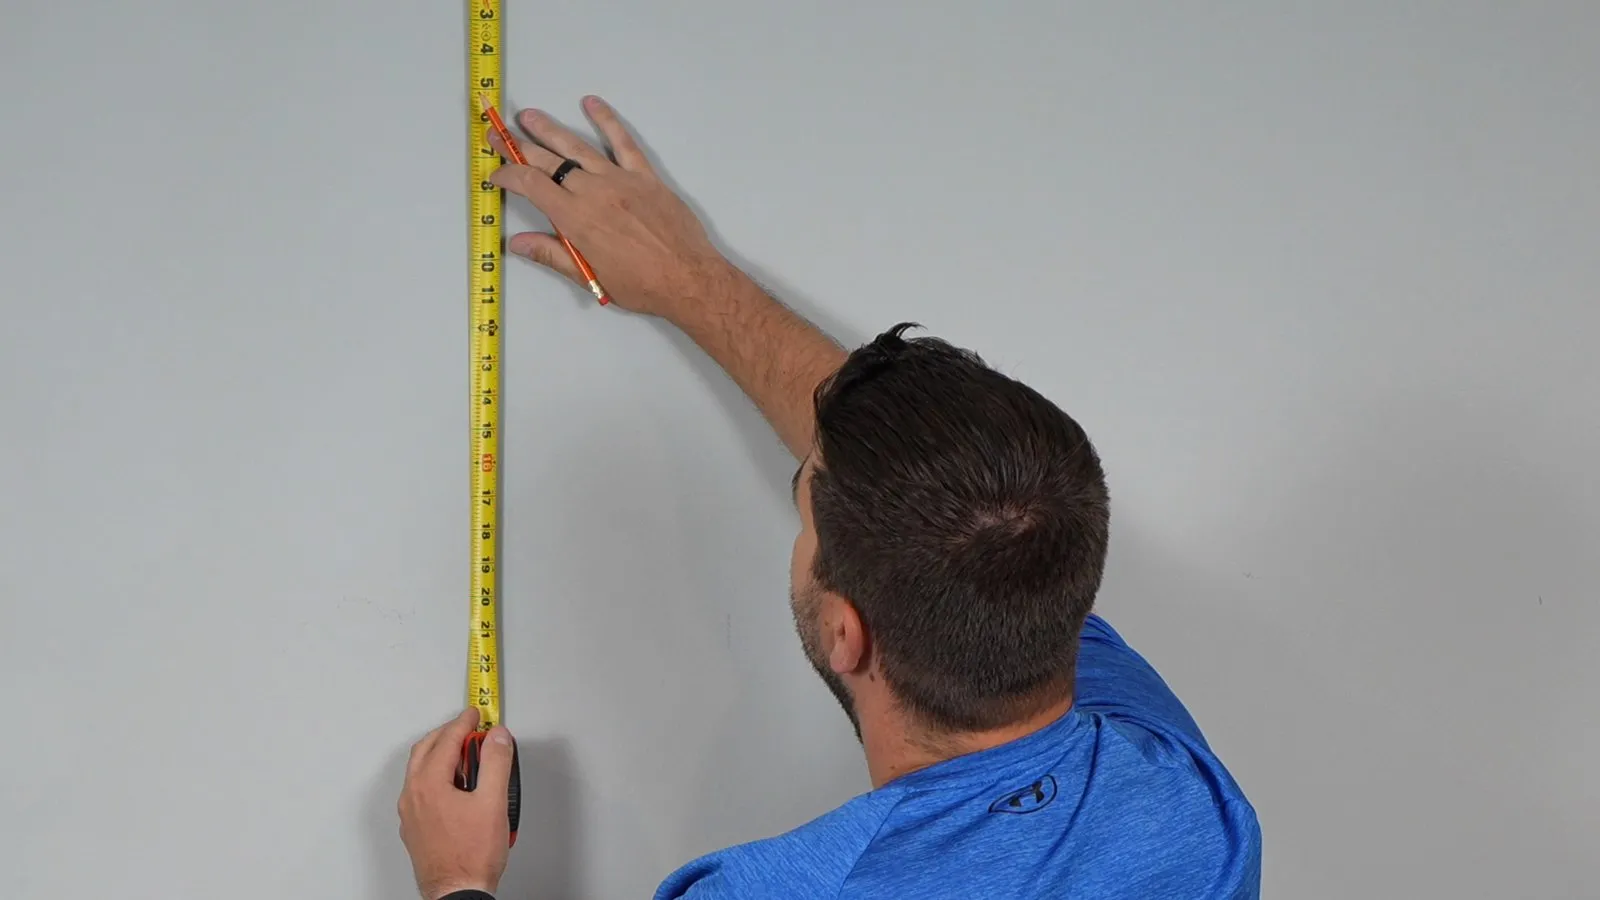
Measure from the top of the TV to its bracket hooks, then on the mount from the hook rail to the top wall-plate holes. Mark where the top of the TV goes and use those two numbers to mark the holes’ height.
Watch this step (7:05)Find the stud centers
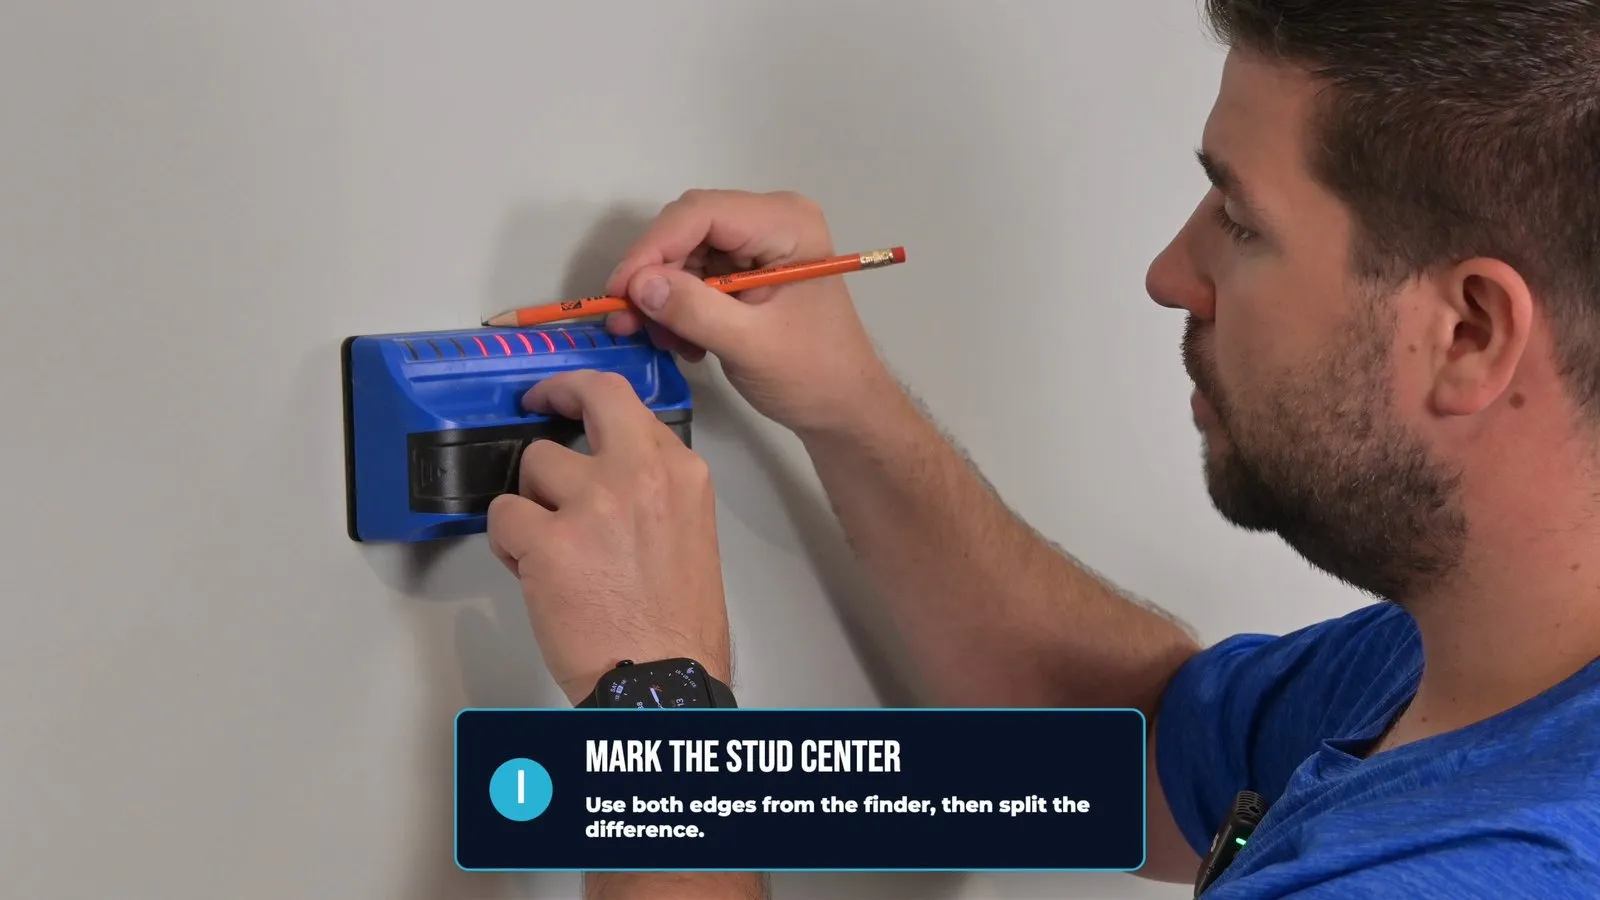
Scan at hole height and mark each stud edge coming from both sides; the center is ¾ inch in from either edge. Check the next stud is 16 or 24 inches over, then tap a thin nail in where a hole will go: it should hit solid wood.
Watch this step (1:05)Drill the pilot holes
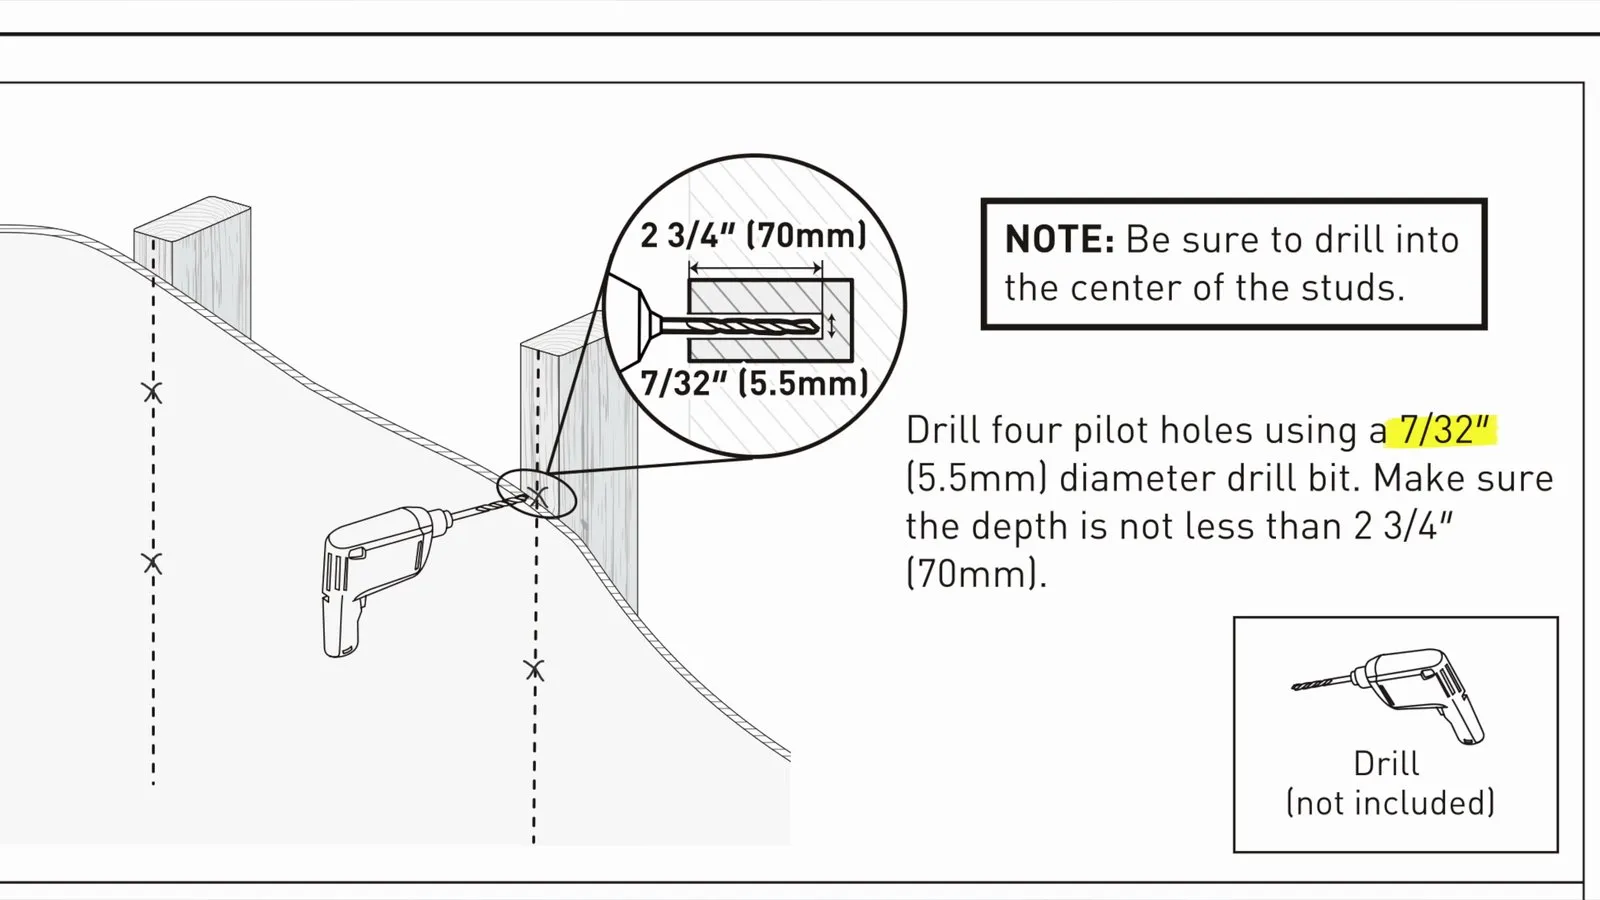
Level the paper template (or the plate) on your marks, mark the holes and drill them with your manual’s bit to its depth (mine: at least 2¾ inches). The bit should cut wood the whole way; if it suddenly goes easy or hits metal, stop and re-check the stud.
Watch this step (8:31)Fasten the wall plate
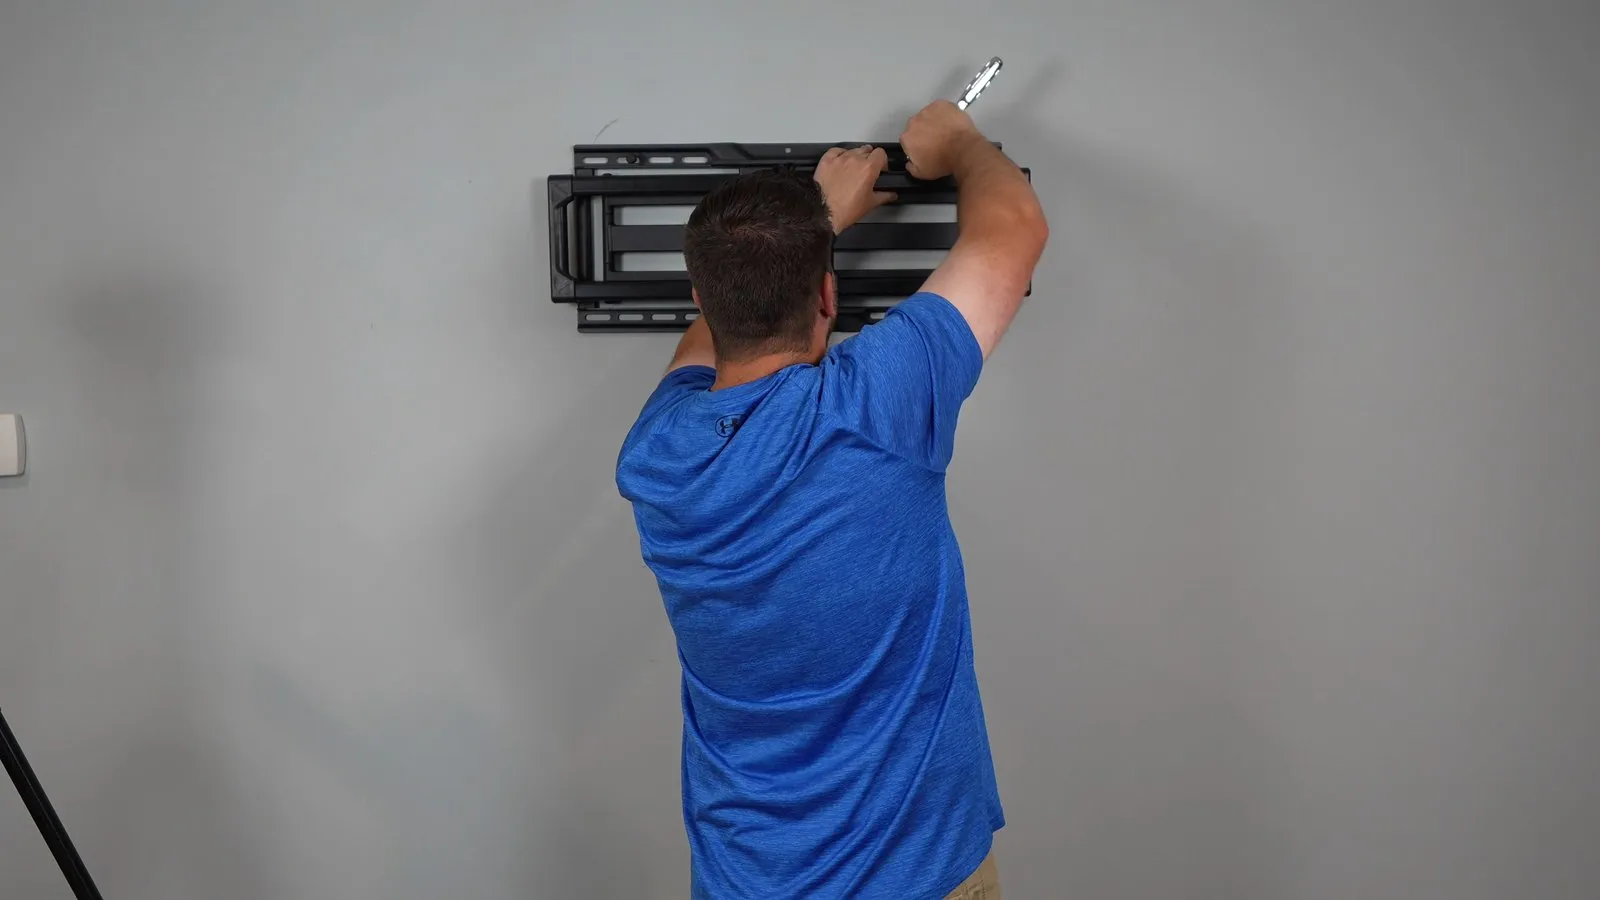
Put a washer on each lag screw. Snug one top screw, level the plate, then tighten them all evenly with a socket wrench, not an impact driver, until the plate pulls firmly against the wall, and stop. A screw that spins without tightening has missed or stripped the stud.
Watch this step (9:10)Test the bare mount
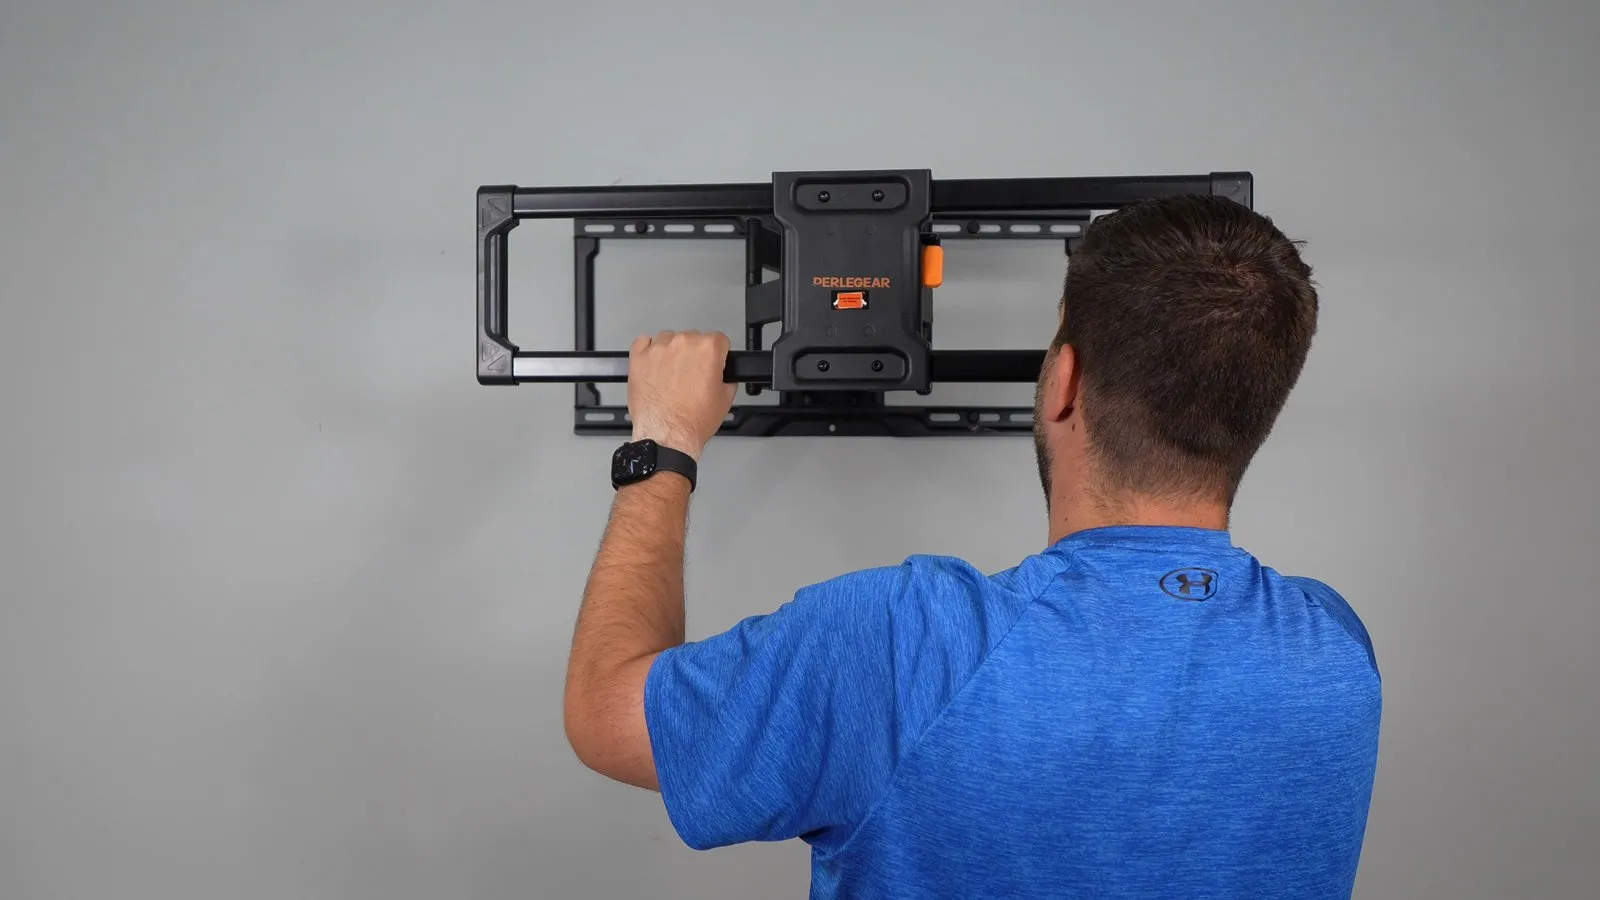
Pull down firmly on the arm by hand; nothing should shift or creak. With the TV pulled out, its weight levers the top screws straight out of the wall, so they need solid wood.
Watch this step (11:40)Hang and lock the TV
With a helper, hook both brackets over the rail and check both sides are seated before anyone lets go. Then engage the safety lock on both brackets, or the TV can lift off the rail.
Watch this step (12:36)Level it and check the cords
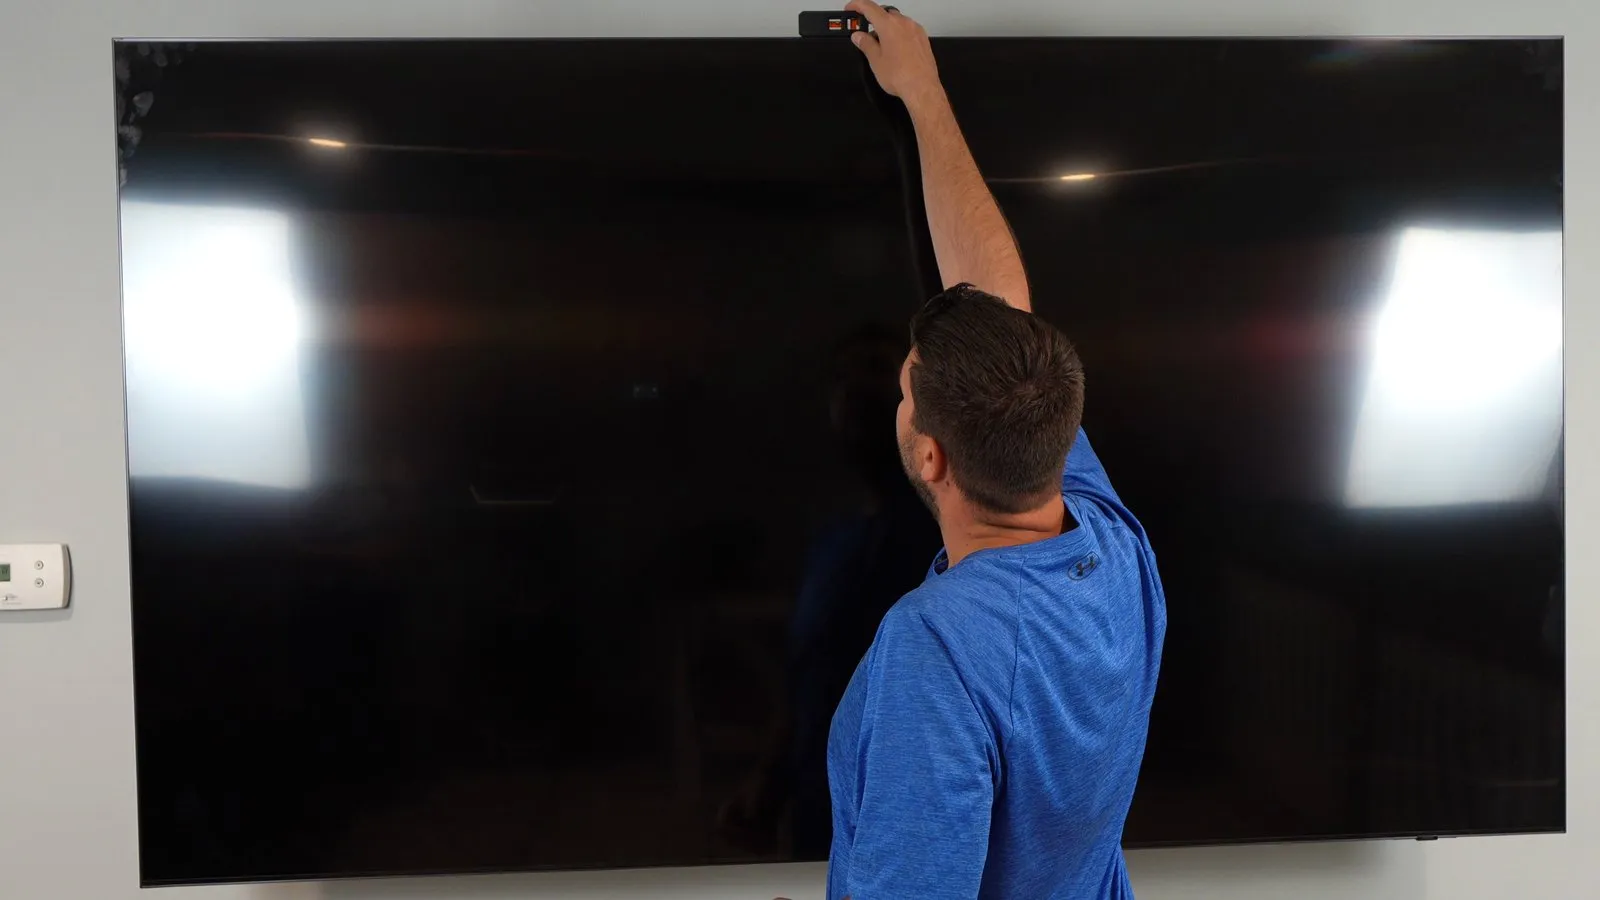
Level the TV itself, using the mount’s leveling adjustment if needed. Then swing, tilt and pull it out to full reach, and check no cord is pinched or pulling on its port.
Watch this step (13:50)
Mistakes to avoid
- Putting the plastic anchors from the box into drywall: they’re for concrete or brick only.