Doors & securitySep 10, 202610 min video
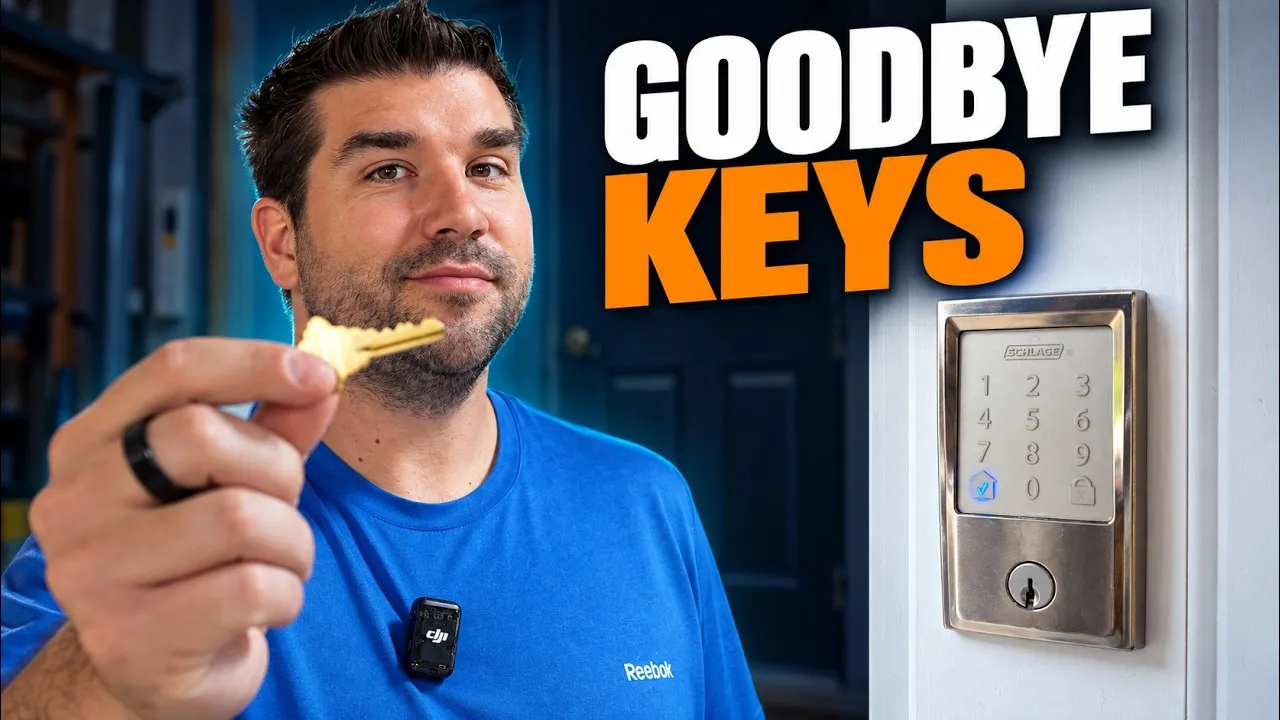
How to install a smart deadbolt
Swap an old deadbolt for a Wi-Fi smart deadbolt on a door that’s already drilled for one, then set it up in the lock’s app.
Free printable guide
Winter Home Checkup
What to check, fix and keep an eye on to get your house through winter, sorted by when you’ll need it.
Get the Winter Home CheckupFree · 11 printable pages · Sent by email
Step by step
What you’ll need
- Phillips screwdriver, used by hand: a drill can damage the lock
- Tape measure
- Fresh alkaline batteries, usually four AA
- Phone with the lock’s app and your 2.4 GHz Wi-Fi password
- Chisel and hammer, if the new strike needs a deeper pocket
Before you start
- Measure the door. Most smart deadbolts need a door 1-3/8 to 1-3/4 in thick, a 2-1/8 in face hole, a 1 in edge hole and a 2-3/8 or 2-3/4 in backset (edge to center of the big hole). Thicker doors need the maker’s thick-door kit. Smaller holes can be opened up; bigger ones won’t work.
- Lock the old deadbolt with the door shut. If you have to push, pull or lift the door, tighten the hinges or move the strike first: a motor stalls where your hand just pushes through.
- Check your phone’s Wi-Fi at the door. The lock needs a 2.4 GHz network, and a weak signal drains its batteries, so add an extender if it’s poor.
Take off the old deadbolt
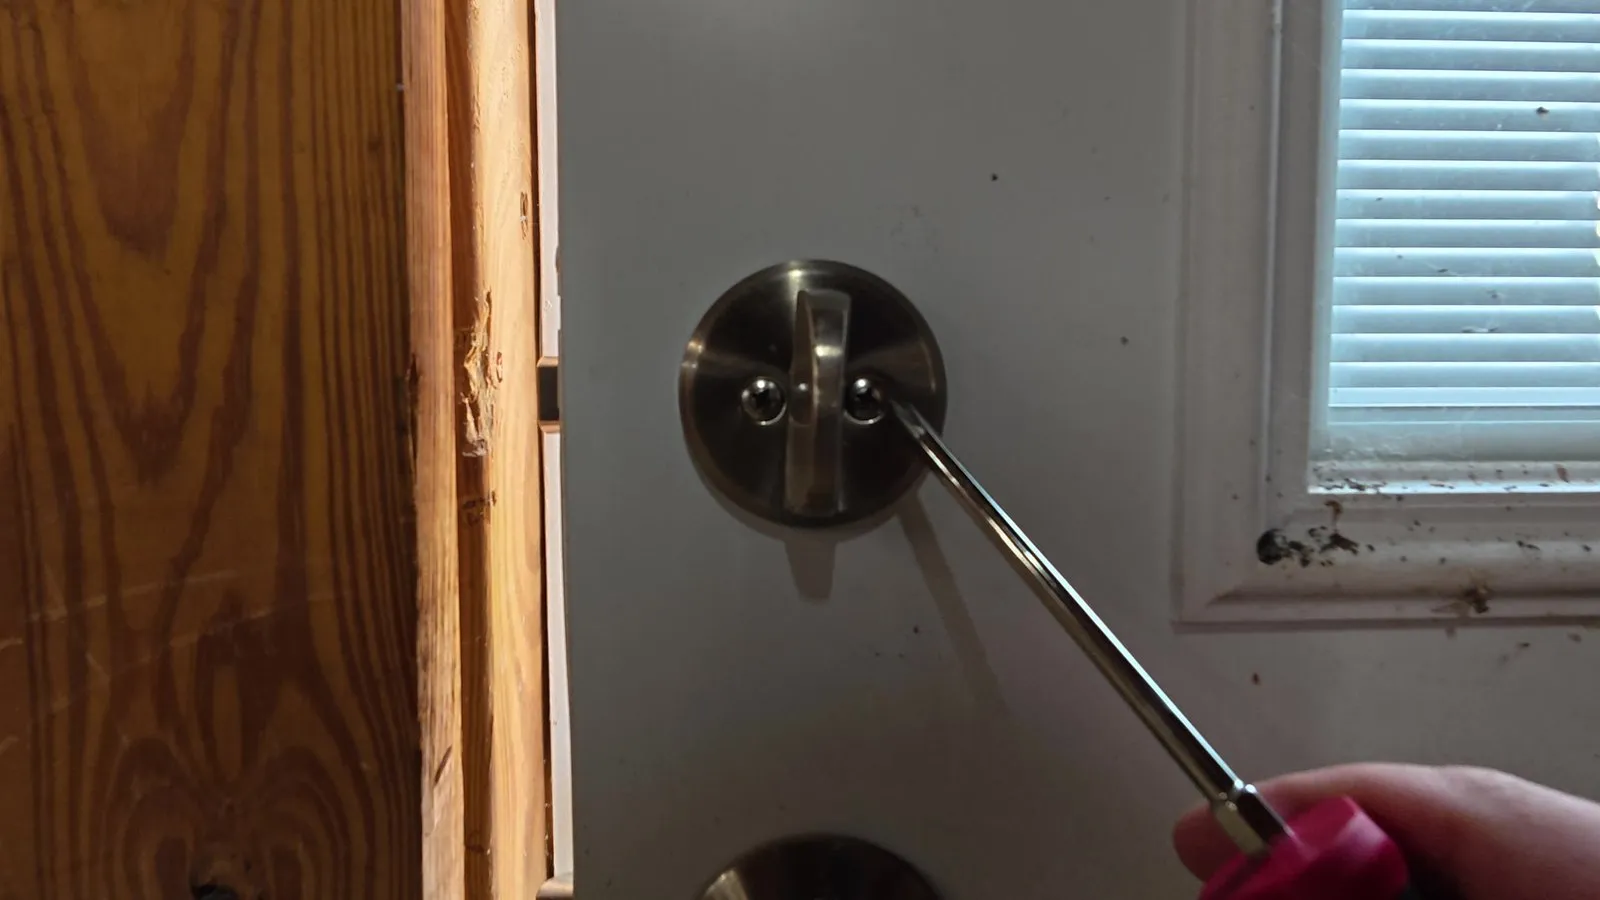
Turn the thumbturn halfway to reach both inside screws, and hold the outside piece so it doesn’t drop. Then remove the two edge screws and pull the bolt.
Watch this step (1:05)Swap the strike
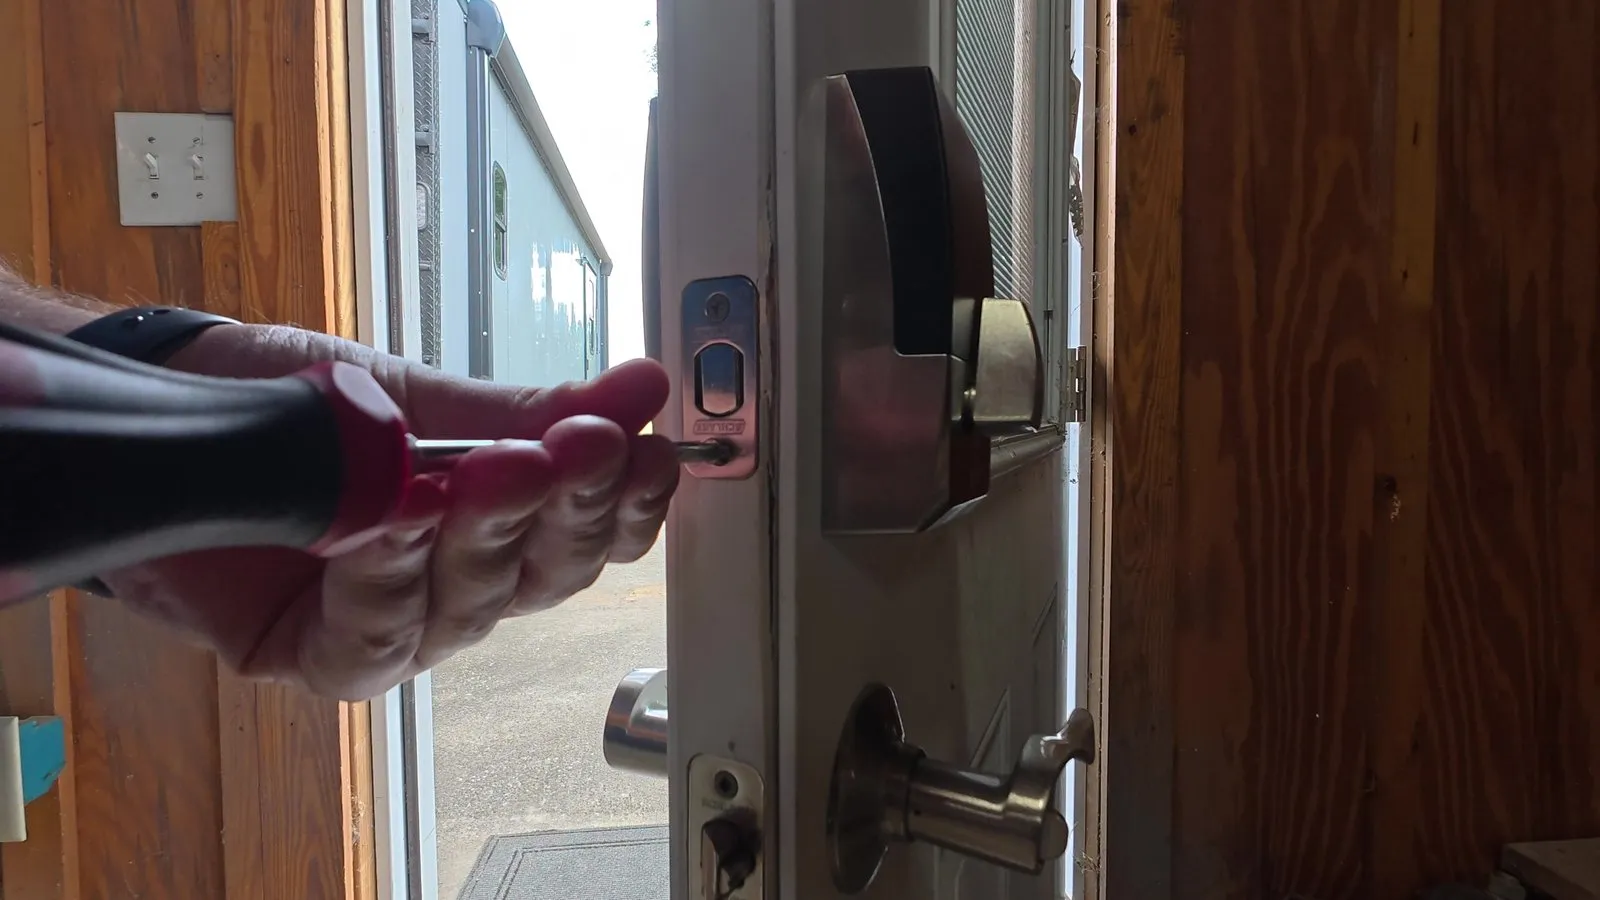
Replace the old strike with the one in the box, plus its reinforcement plate if it has one. The bolt needs a clean pocket at least 1 in deep; chisel it out if not.
Watch this step (5:47)Set and fit the new bolt
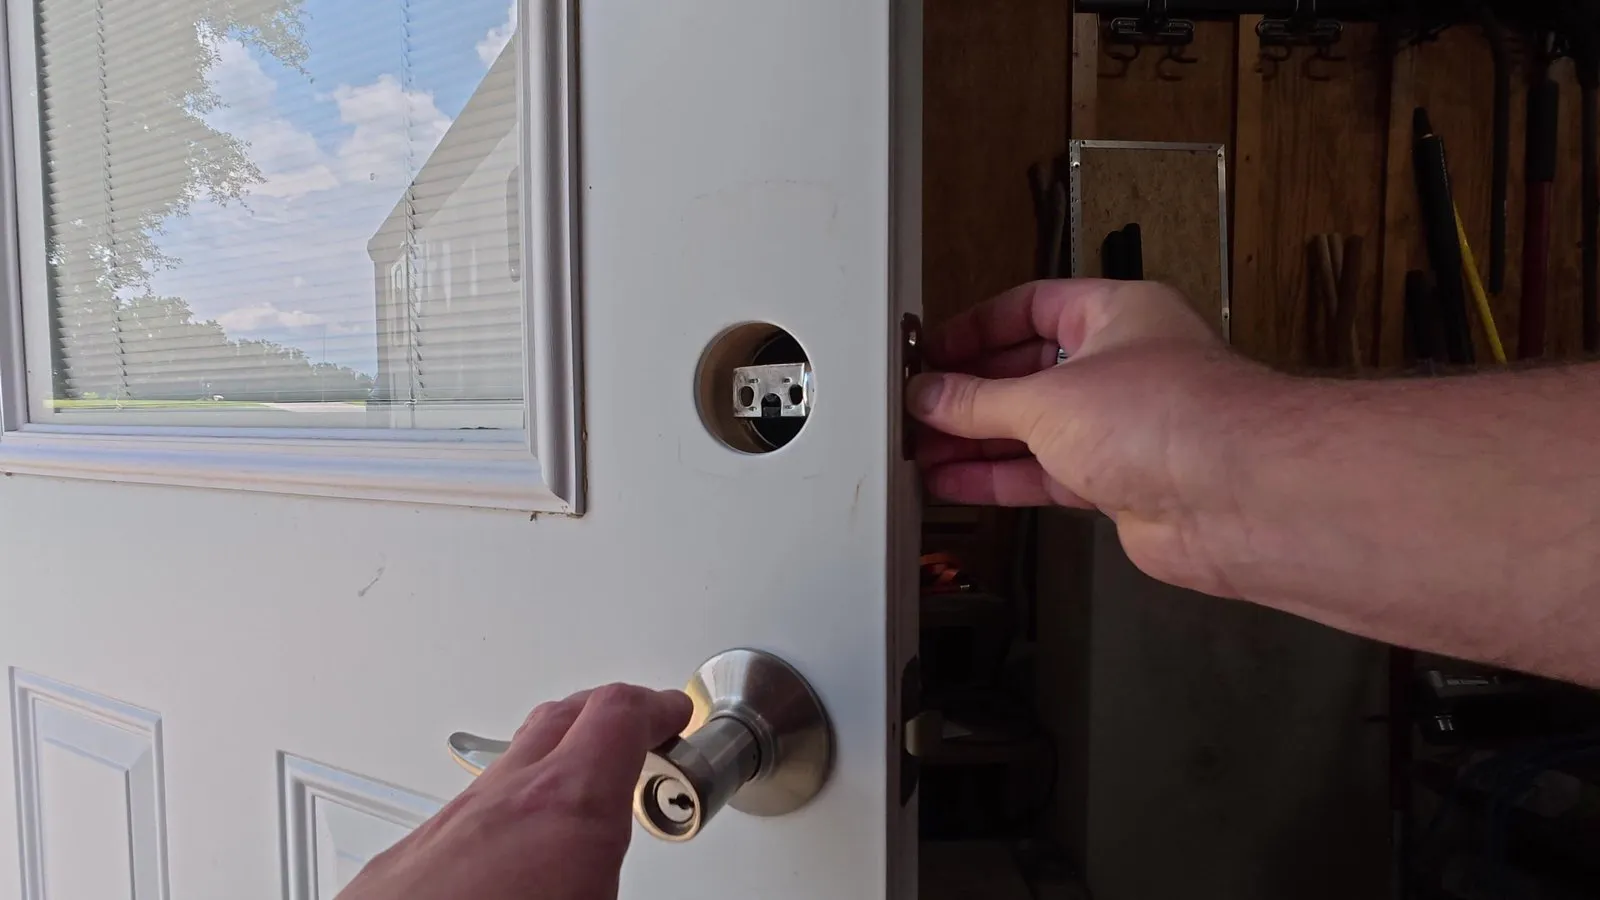
Set the bolt to your backset (many twist out from 2-3/8 to 2-3/4 in) so its slot sits centered in the big hole. Screw it in with TOP facing up.
Watch this step (3:25)Mount the outside keypad
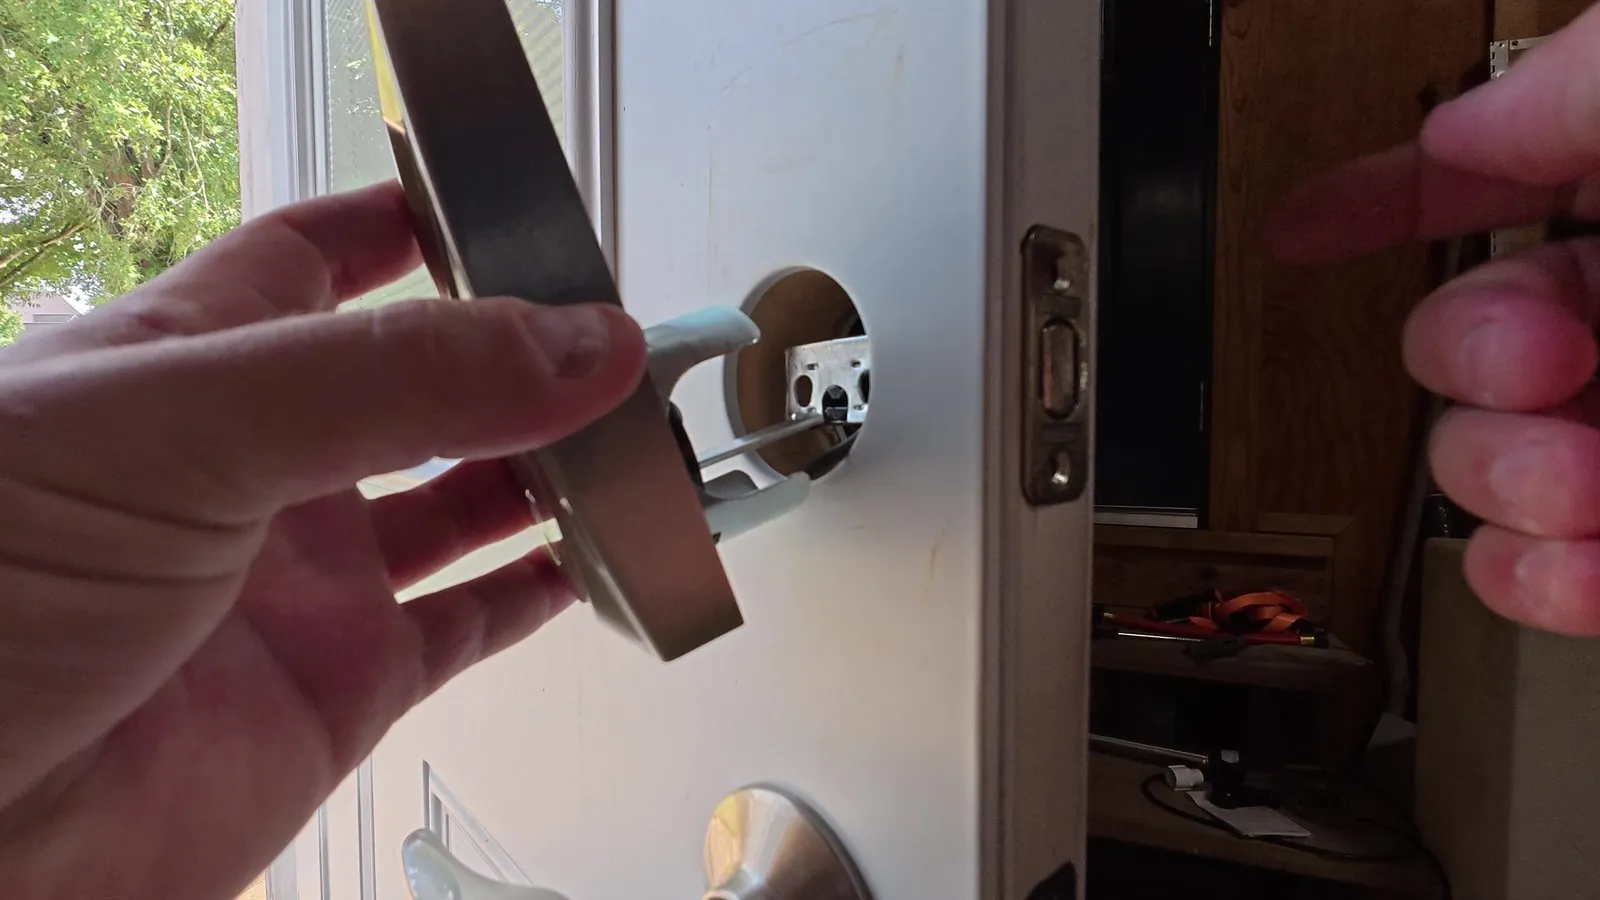
Feed its cable through under the bolt, fit the tailpiece into the bolt’s slot, and push the keypad flat to the door.
Watch this step (3:39)Fit the mounting plate
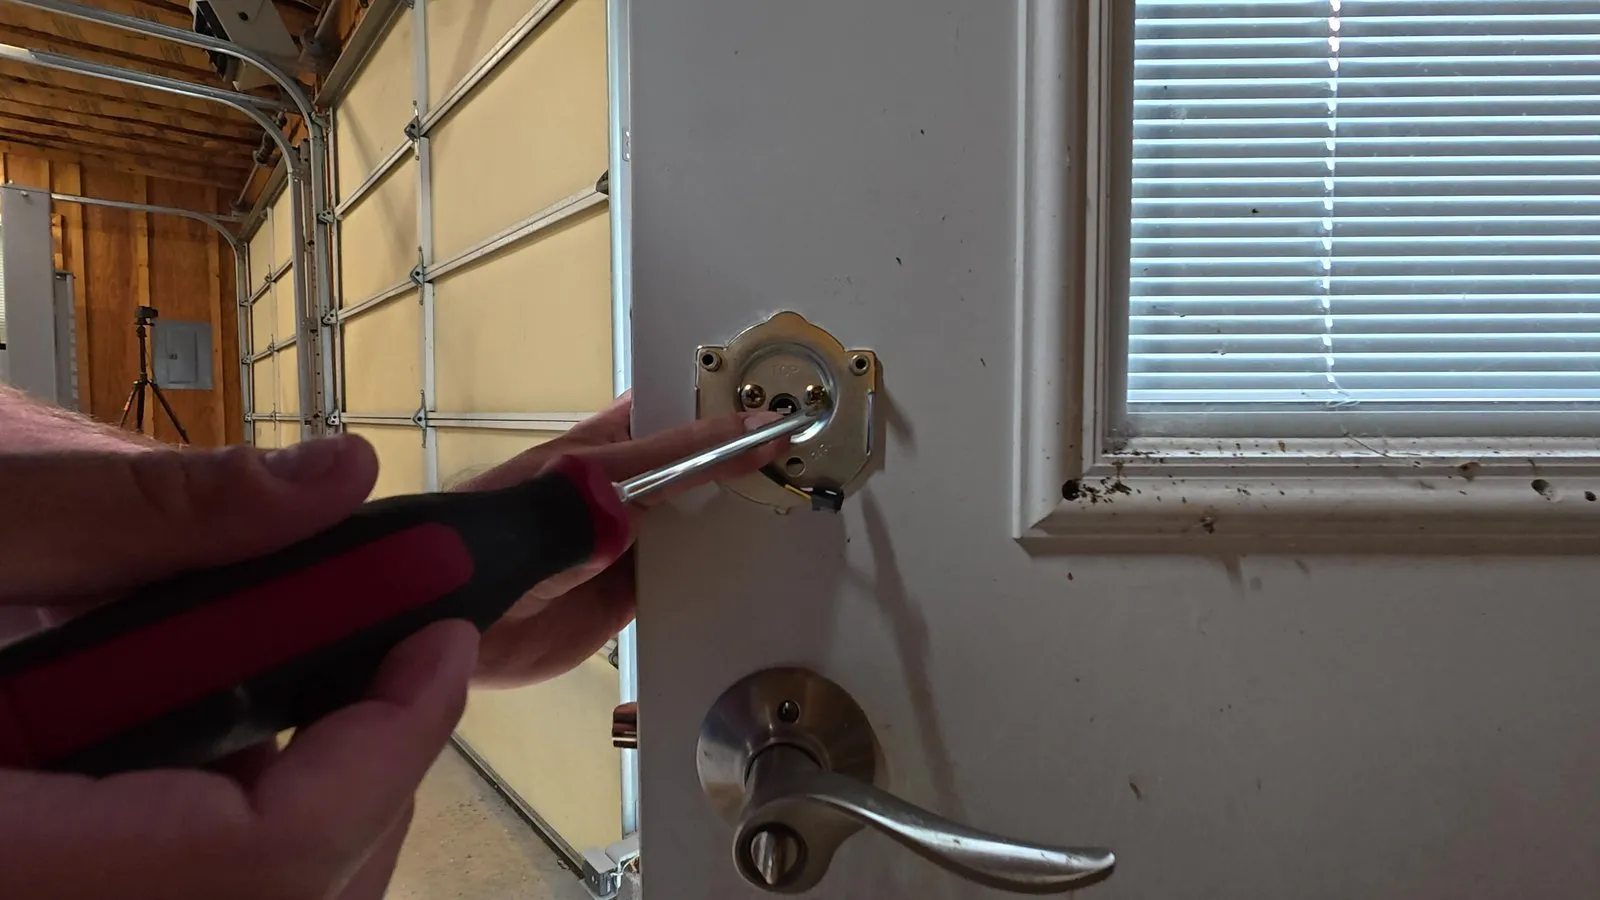
Put it on the inside, marked side against the door and TOP up, with the cable through its hole. Start both screws by hand, square up the keypad, then tighten them with the screwdriver.
Watch this step (4:01)Connect the inside unit
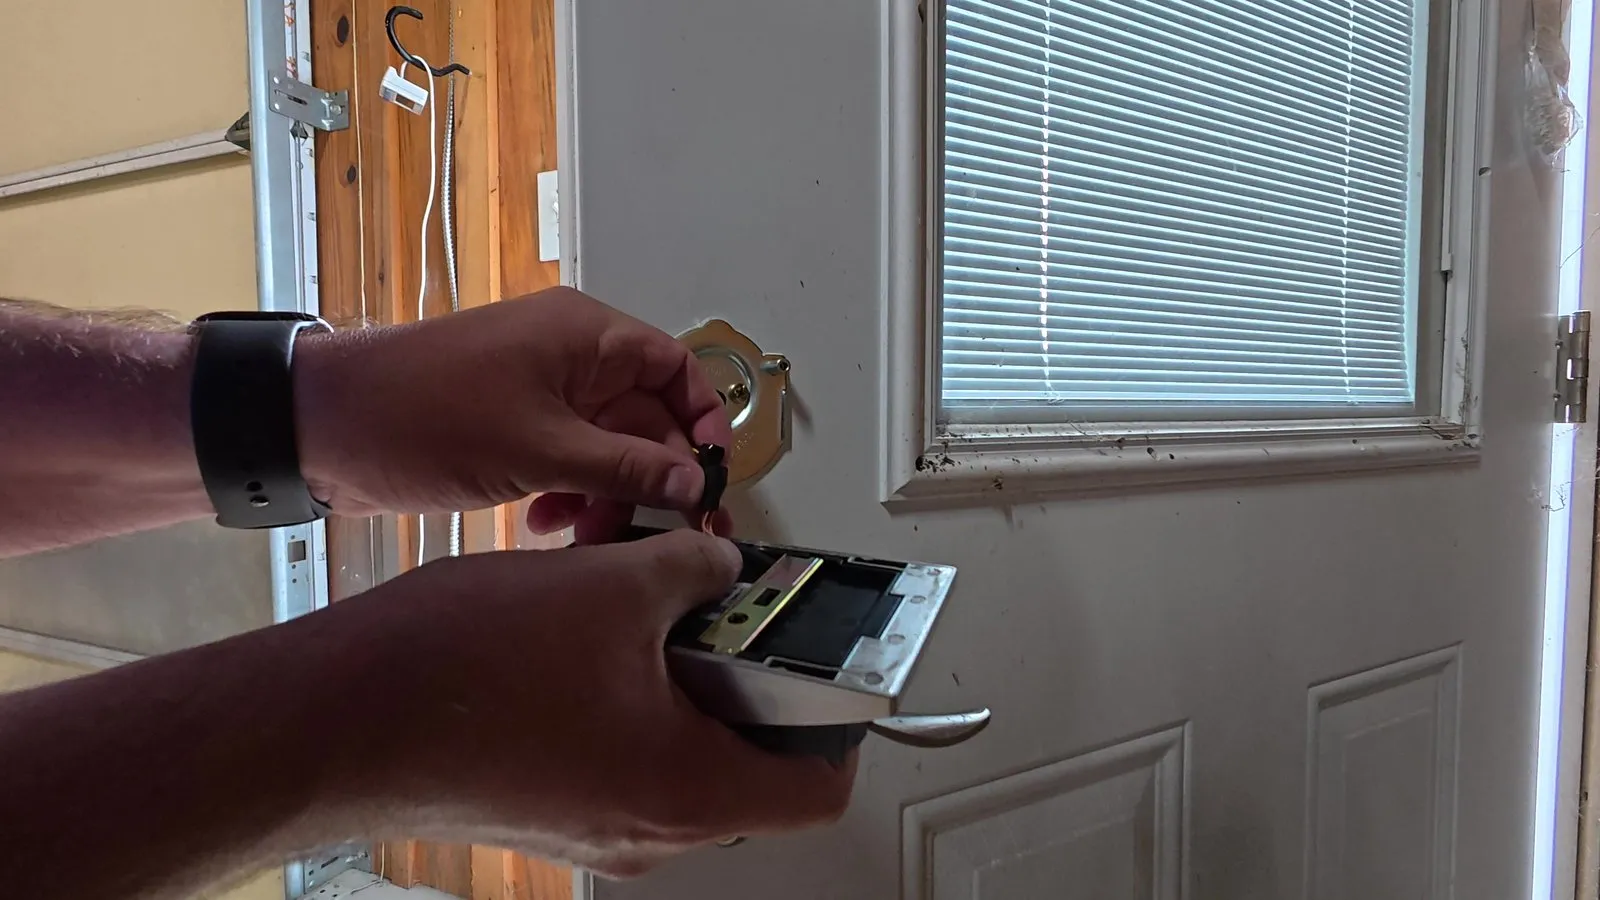
Plug in the cable; it only fits one way. Turn the thumbturn to unlocked so it meets the tailpiece, and tuck the cable above the spindle so it can’t pinch. Screw the unit on, then turn the thumbturn: the bolt should run smoothly.
Watch this step (5:00)Add the batteries
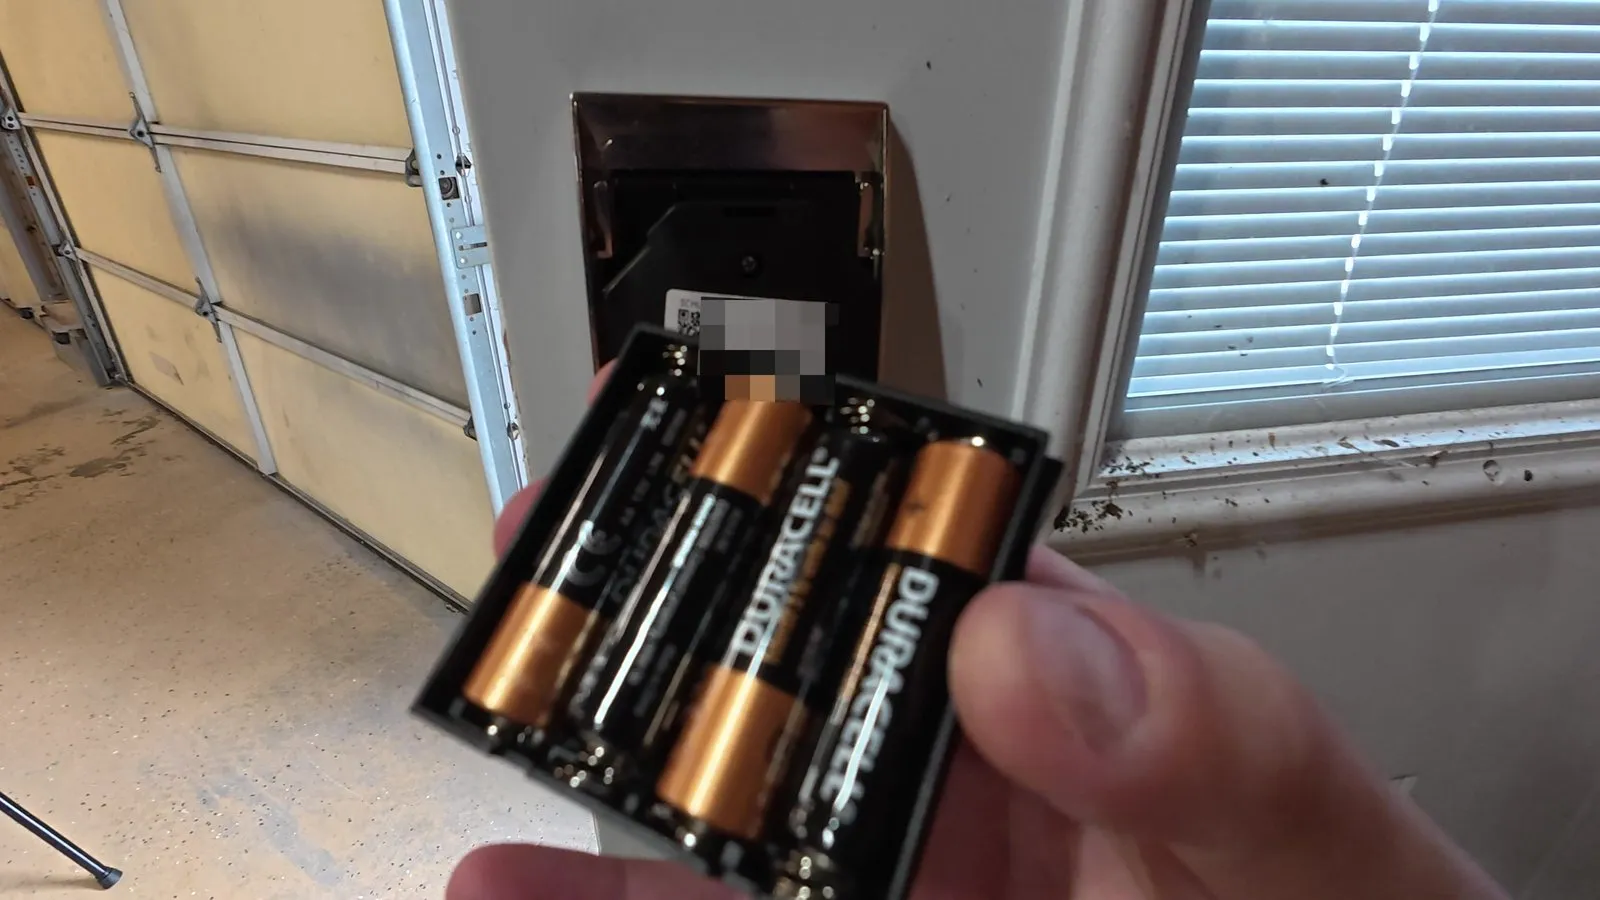
Load the battery holder and slide it back in with the batteries facing the door. Skip lithium and rechargeables; they can die with little warning.
Watch this step (5:57)Test it with the door open
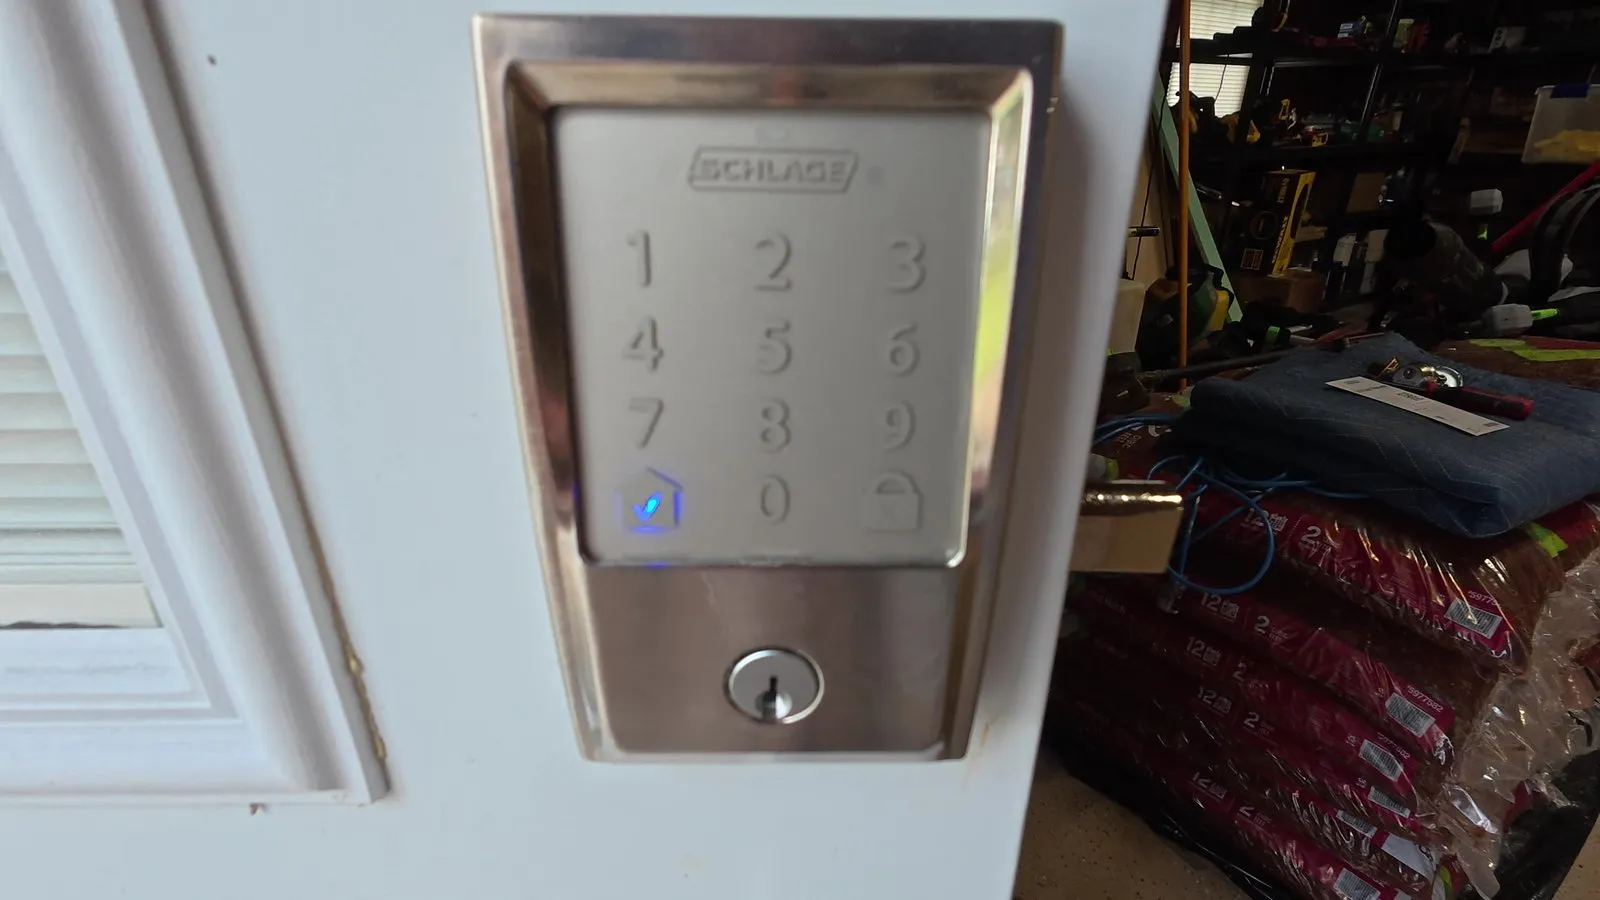
Keep the card with the default codes. With the door still open, lock it from the keypad and unlock it with a code, letting any setup routine finish. Then shut the door and throw the bolt by hand: it should slide in without a push on the door.
Watch this step (6:14)Keep the key safe
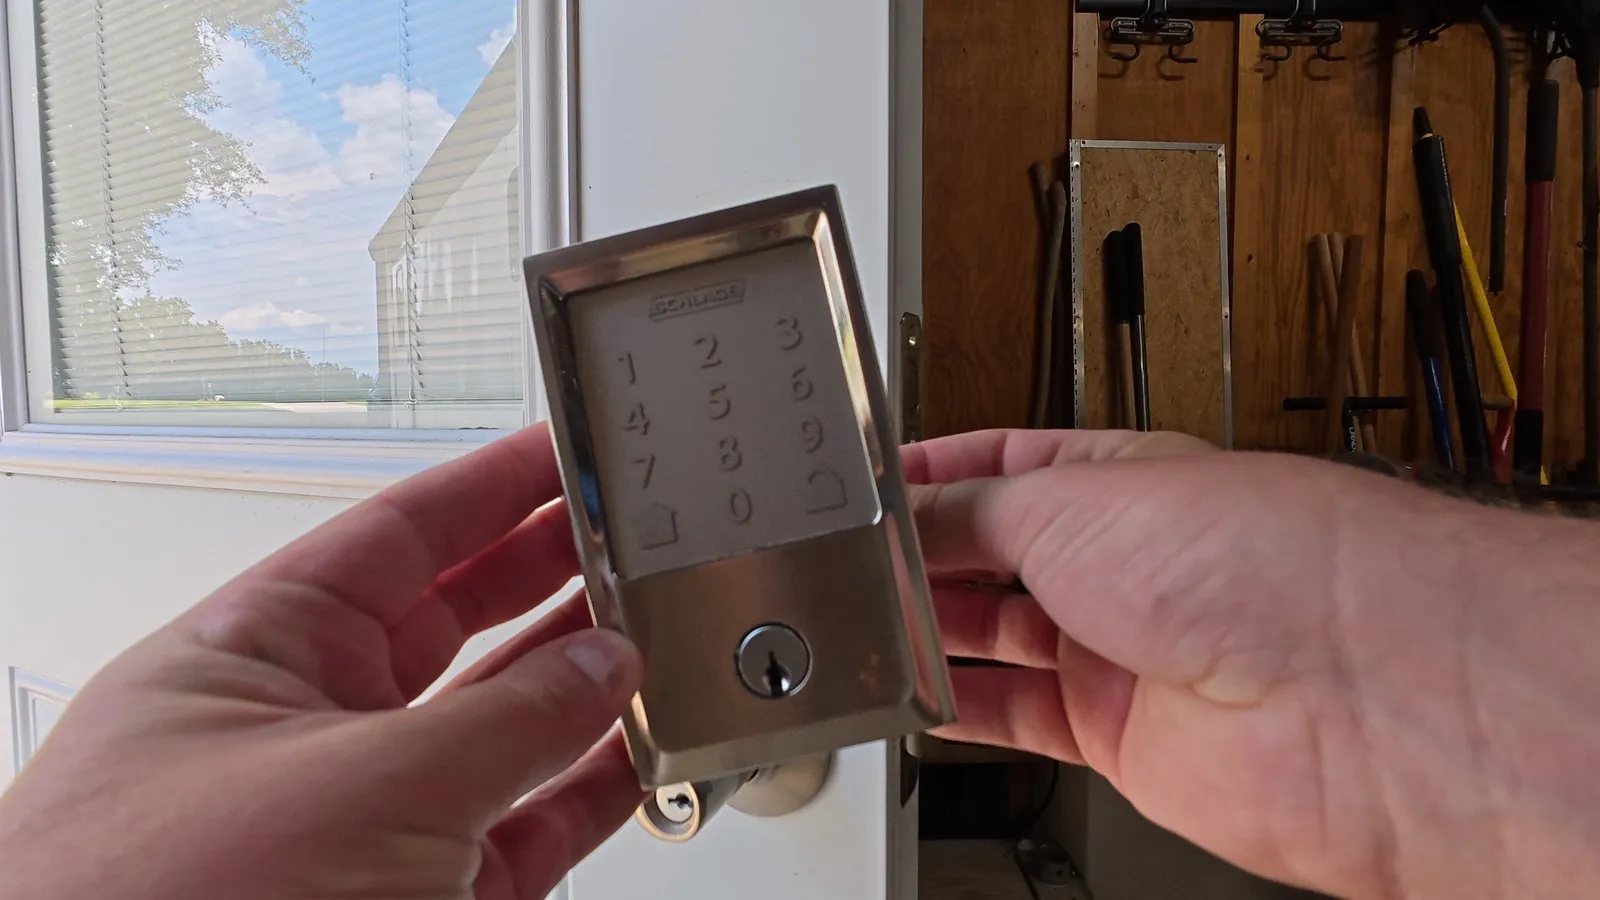
With dead batteries, the key is your only way in unless the lock has a 9-volt or USB jump-start terminal. Keep it on your keyring or with someone you trust, and get a spare cut.
Watch this step (6:49)Pair it with the app
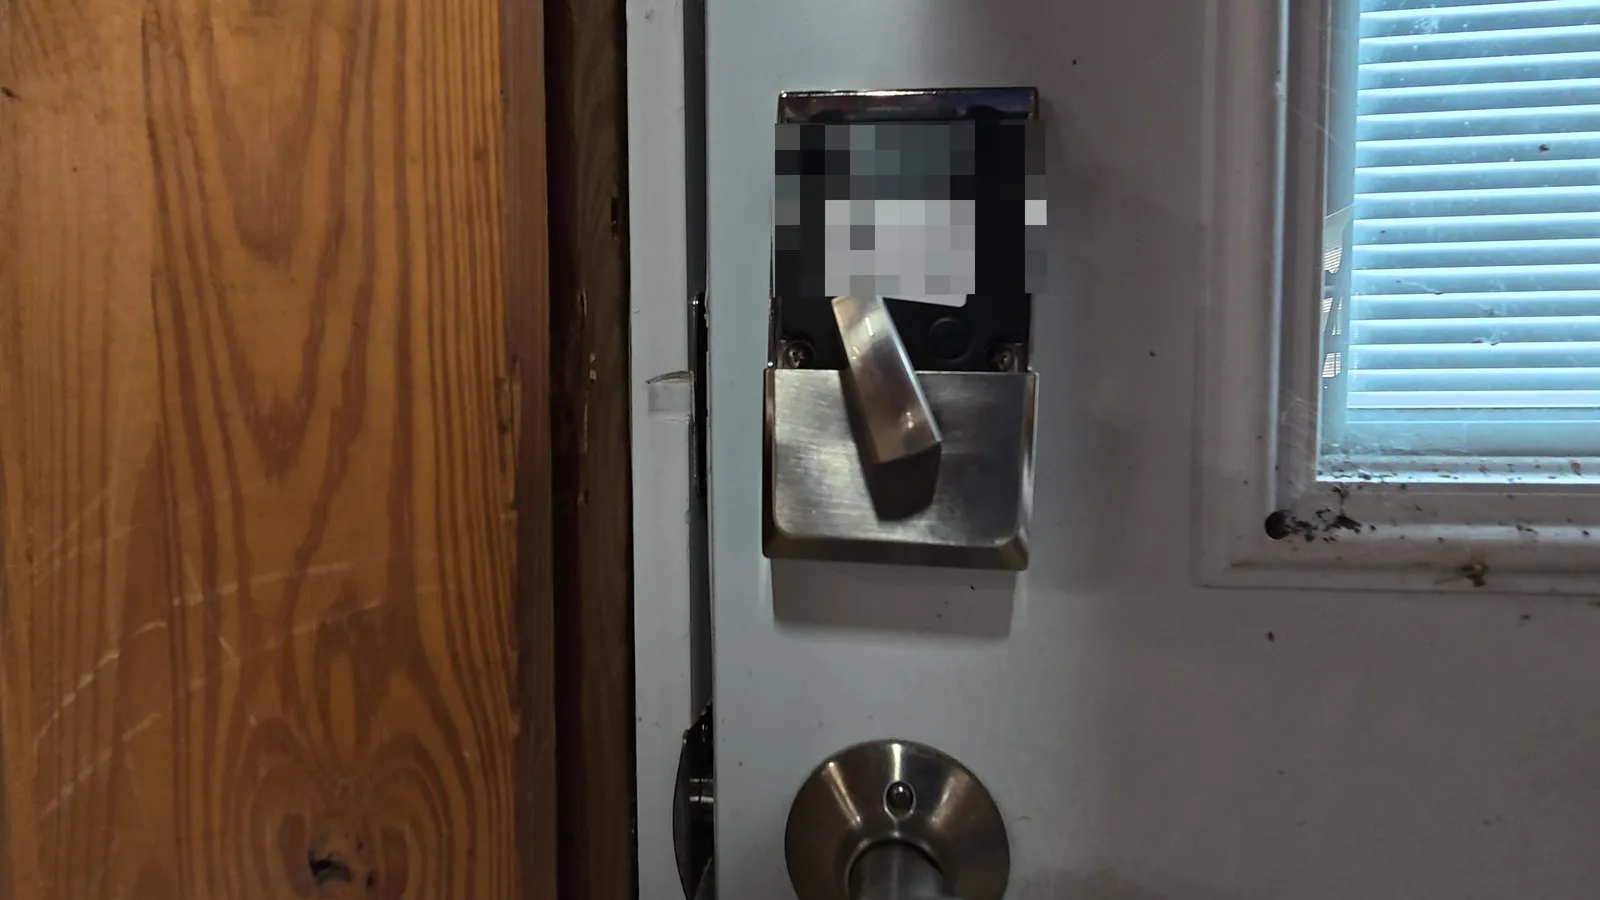
Add a lock in the lock’s app and scan its QR code. Press and release the pairing button under the inside cover (holding it can reset the lock), join your 2.4 GHz network and set your own code.
Watch this step (7:16)Let it learn your door
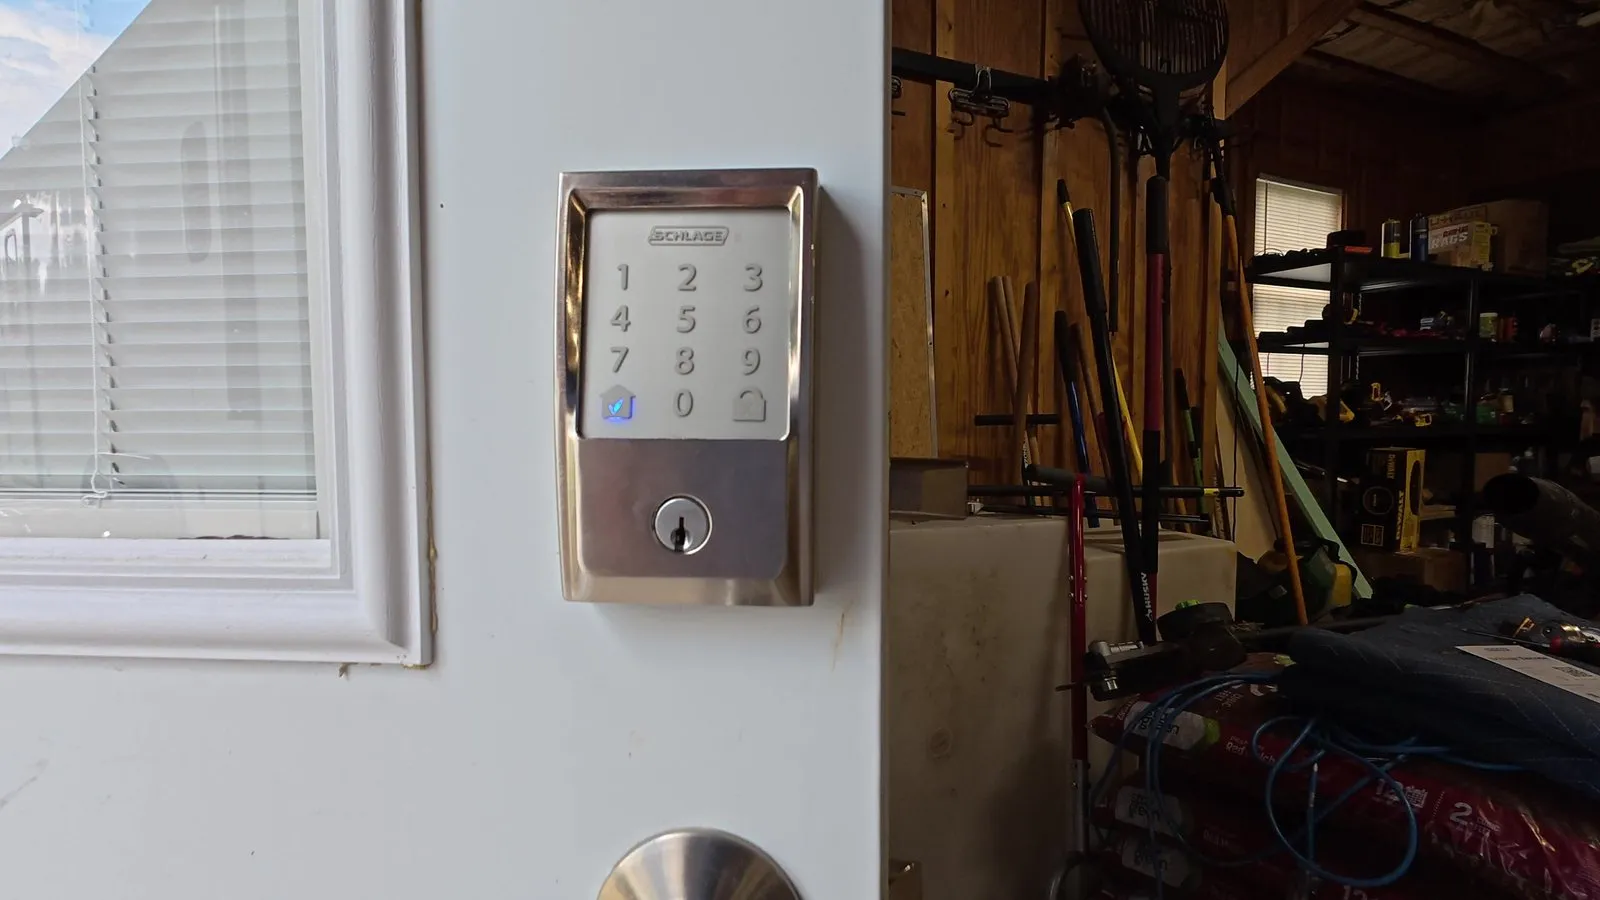
When the app asks, open the door slightly and start the calibration. Wait until the bolt stops moving, then close the door and lock it from the app.
Watch this step (8:35)
Mistakes to avoid
- Blaming the lock for a strike problem: if it works open but jams shut, rub lipstick on the bolt, throw it with the door closed, and file or chisel where it marks.
- Forcing a crooked inside unit flat with its screws: back them off, set the thumbturn to unlocked, re-tuck the cable and refit it.
- Fighting a combined 2.4/5 GHz network: if the lock won’t connect, pause the 5 GHz band while you set it up.